
Butter, sugar, salt. When balanced properly, is there a happier confluence of ingredients? (The answer is no, unless you’d like to discuss the merits of cream, yolks, and sugar.)
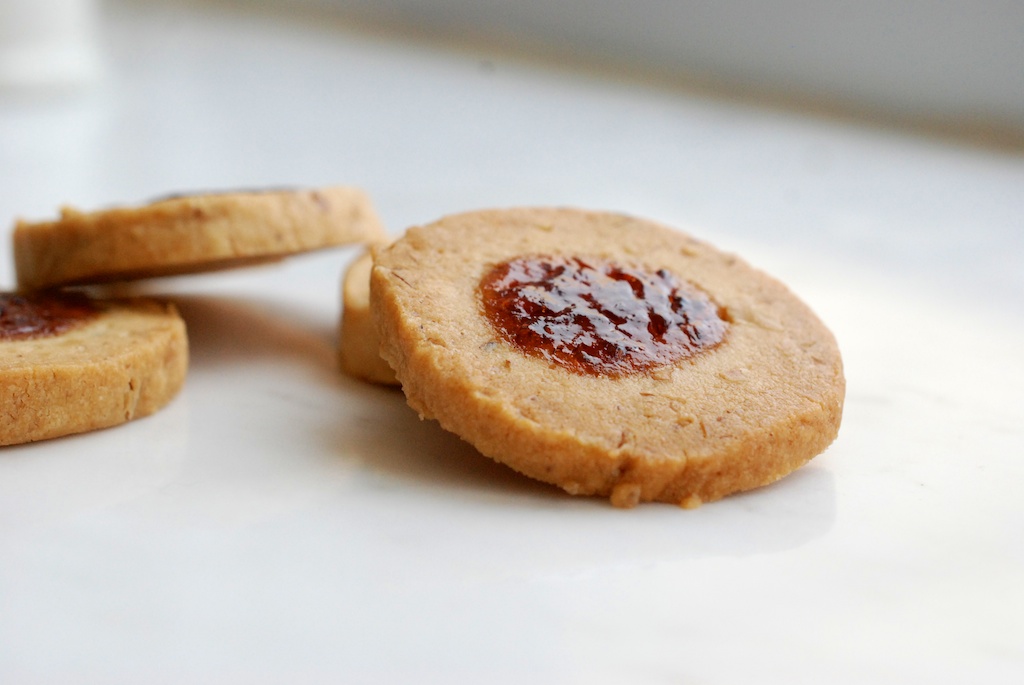
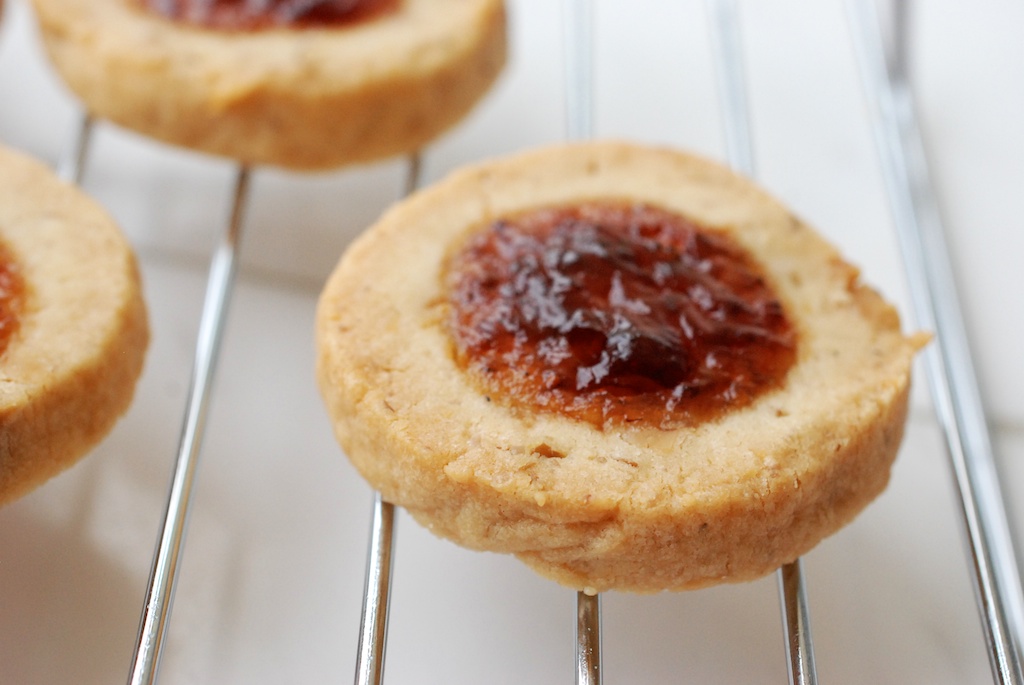
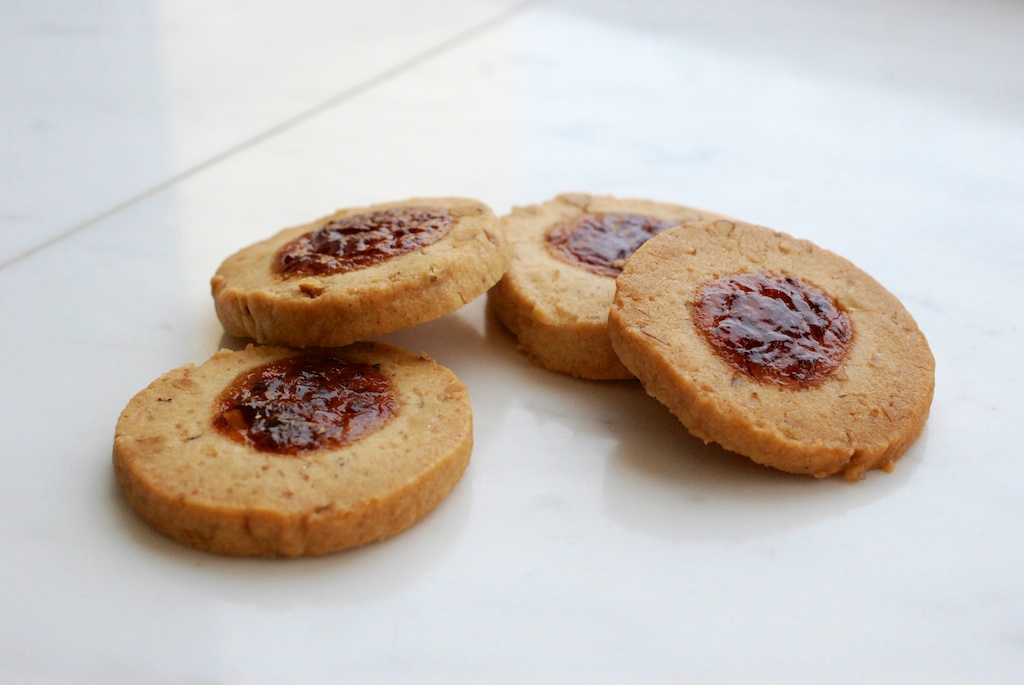
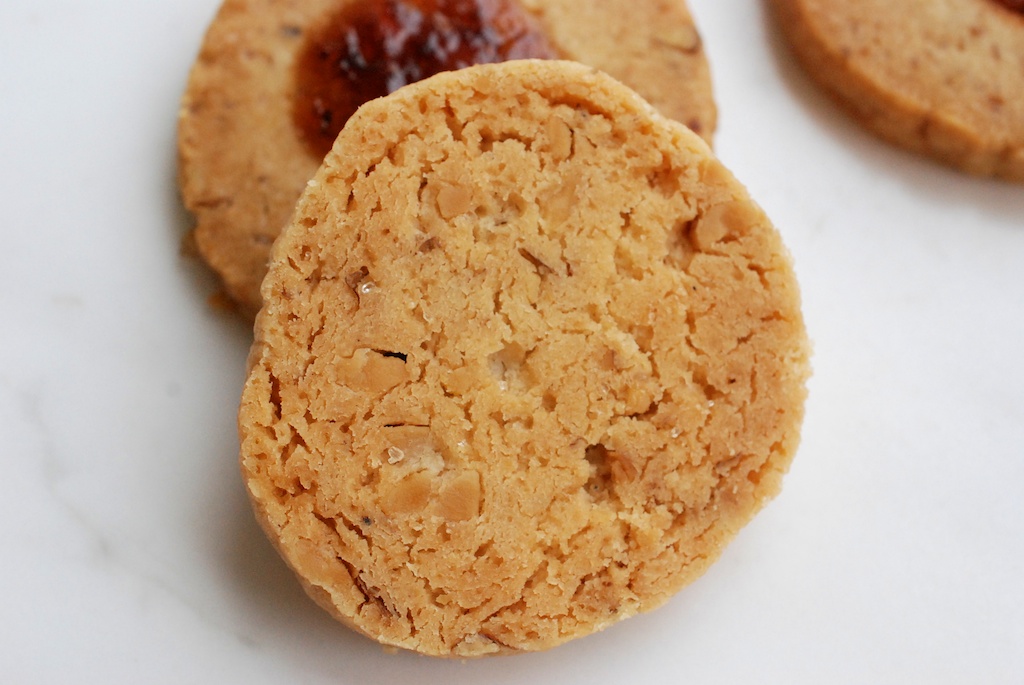
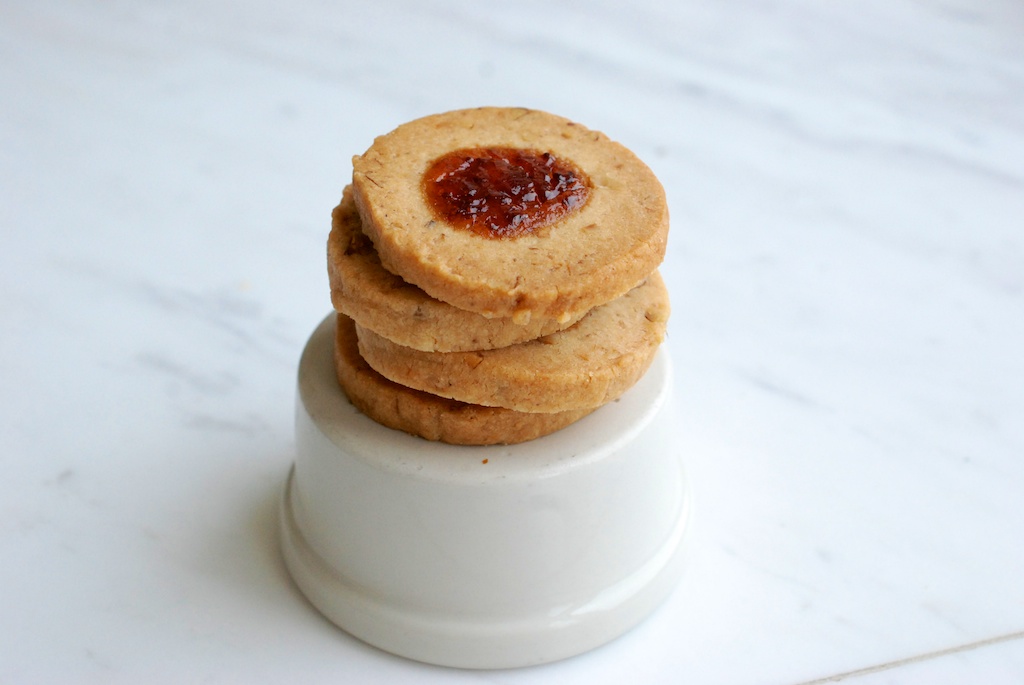
My goal for this batch of cookies was to bridge the transition weeks from warm to colder weather. Toasted walnuts and notes of nutmeg tackle the ‘oh my, it’s quite nippy, I think I’d like something conforming’ aspects of fall, while drops of strawberry jam brighten each sablé and remind of sunny afternoons.
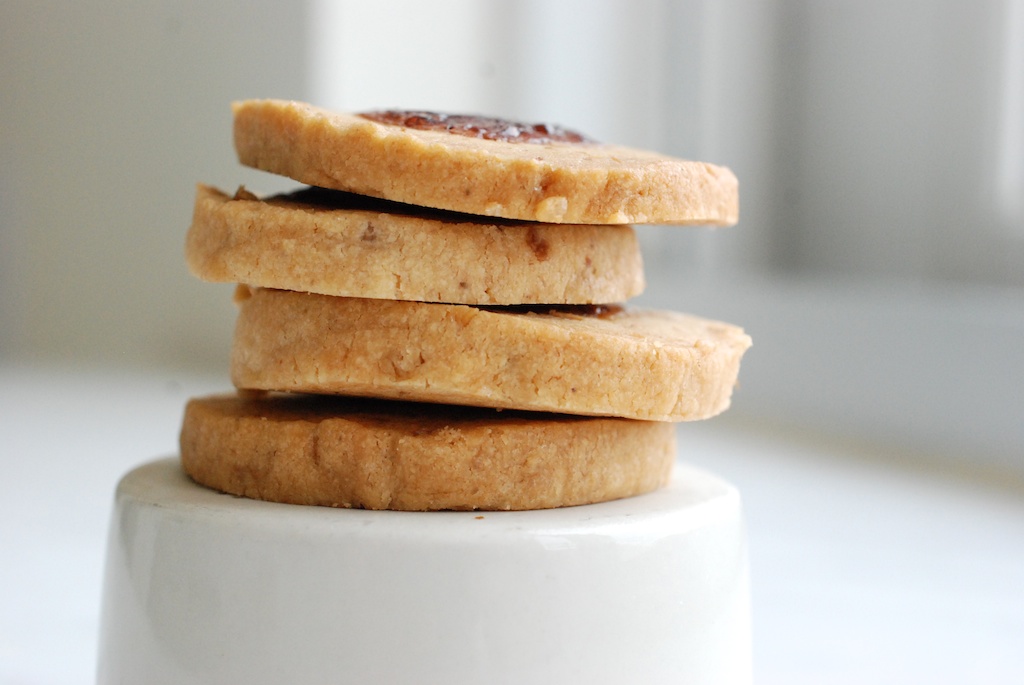
I decided these sablés (a word that means “sand” in French, in reference to both the cookie’s color and texture) should be pop-able, but ample enough so that a few would satisfy. In the end, I settled on a 2 inch diameter. I’d like to tell you that I measured this using one of the coolly professional cookie cutters I bought in a nesting set… Alas, those rings did not come close to my desired width, so I ended up using a ruler summoned from google. In the kitchen, as in life, adapt!
I would be remiss if I didn’t mention my reliance on Dorie Greenspan’s master recipe for sablés when crafting the bones of my recipe. As you will see, I trusted her basic measurements, but then added a few of my own ingredients for good measure. The instructions too, on this my first go around with sablés, reflect her seasoned advice, although of course I have filtered her counsel through my own experience making them.
Makes 50-60 cookies, depending on the sureness of your even cutting skills, so far mine leave something to be desired
Ingredients:
- 2 sticks unsalted butter, softened at room temperature
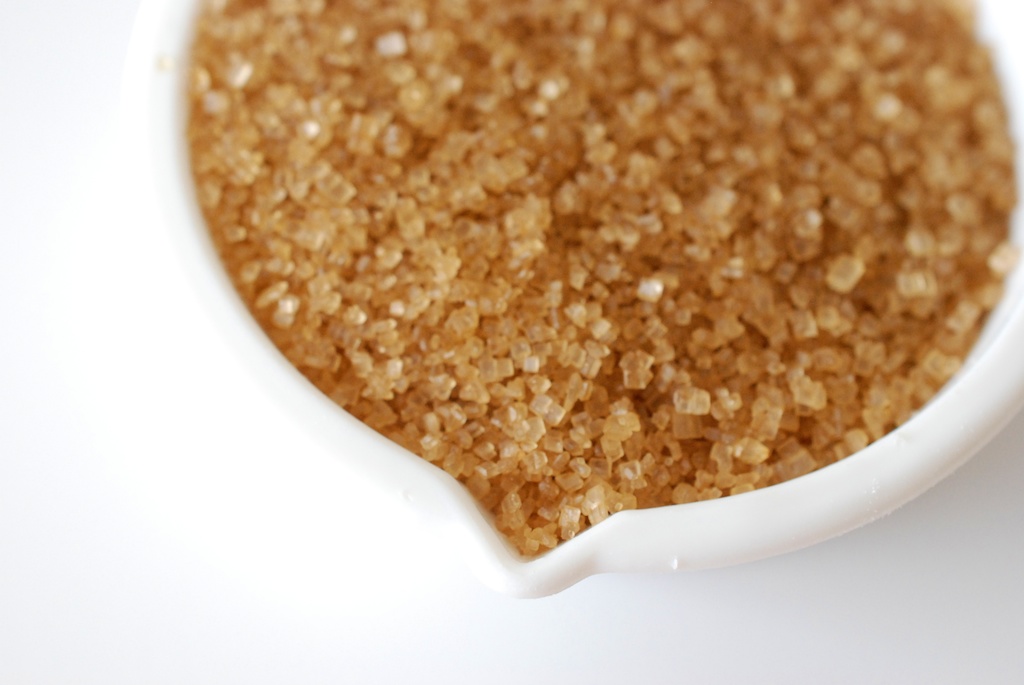
- 1/4 cup white sugar
- 1/4 cup golden sugar (or light brown sugar)
- 1/4 cup powdered sugar (sifted)
- 1/2 teaspoon sea salt
- 1/2 teaspoon freshly grated nutmeg
- 2 large egg yolks, room temperature
- 2 cups flour
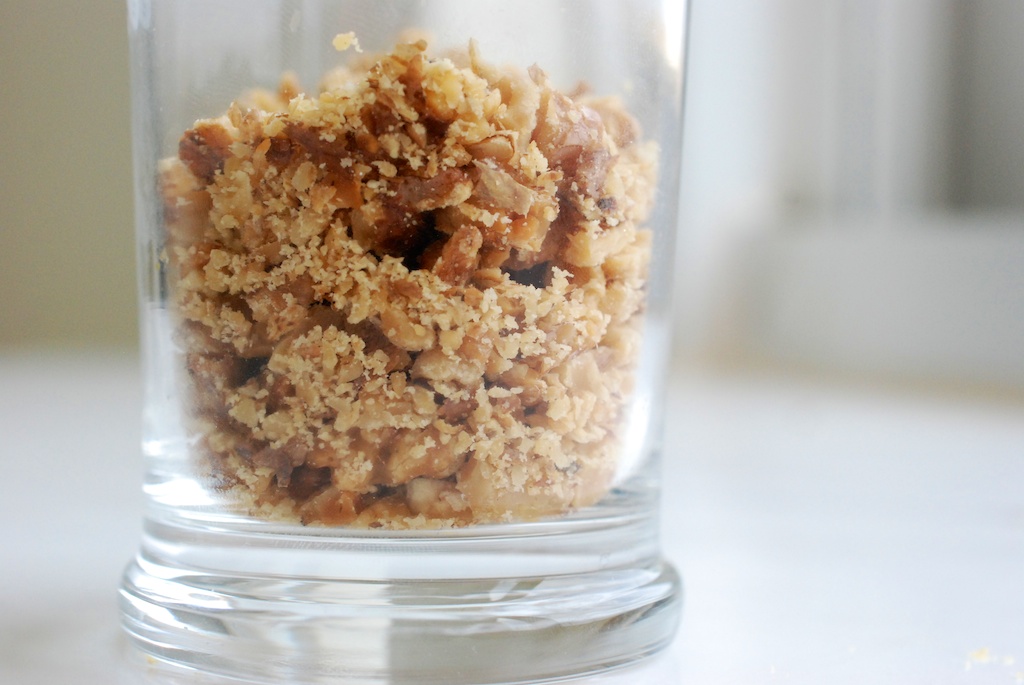
- 3/4 cups walnuts (toasted, crushed)
- strawberry jam (about 1/2 cup), fig or pear also work nicely
Procedure:
1. Heat the oven to 350F. Line a baking sheet with parchment paper, and lay the walnuts on top. When the oven is hot, bake them for 10 minutes, or until they are fragrant and lightly browned. Remove the walnuts from the oven, and allow them to cool. (Also, turn the oven off, because you won’t need it again for a while.) After the walnuts have cooled, use the heel of a mug (or a mortar and pestle) to crush them into crumbly bits.
1. If you have a fancy-pants standing mixer, fantastic: fit it with the paddle attachment. What I have is a hand-held mixer with beater attachments, so that’s what I use. Add the butter to a large bowl and get cracking–blend on medium speed until the butter is smooth as..well, butter (30 seconds-1 minute, depending on how soft your butter was to begin with.)
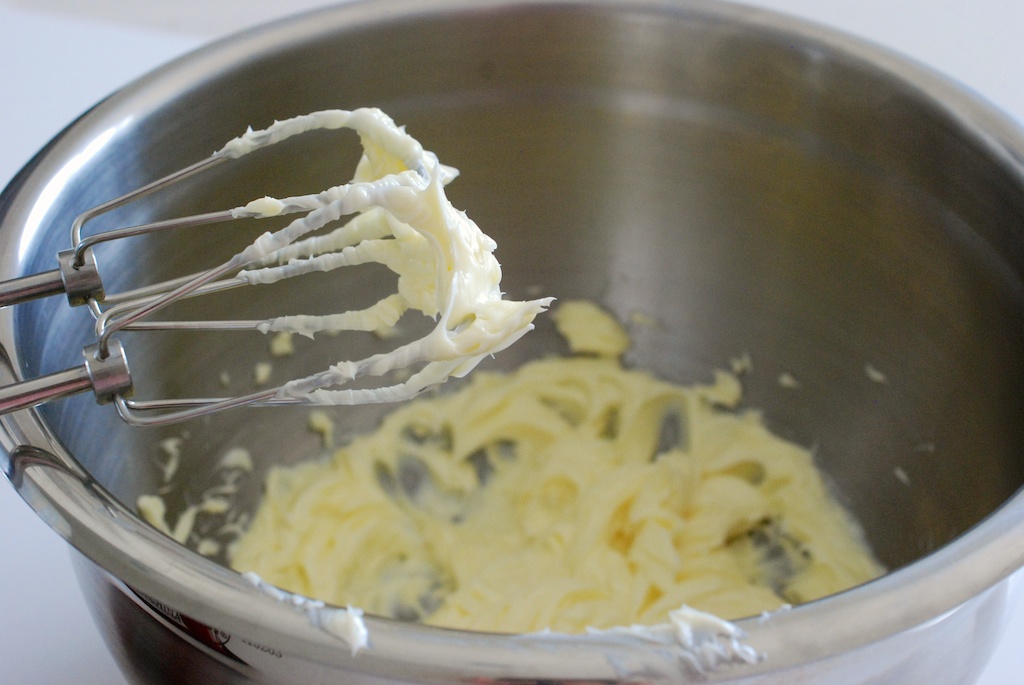
2. Add all three sugars, as well as the salt and nutmeg, and continue mixing until everything looks quite creamy and incorporated, about 1-2 more minutes. Reduce the mixer speed to low, and then add the egg yolks; mix to combine.

3. At this point, turn off the mixer and add the flour to the bowl. Start the mixer again on the very lowest setting, to avoid a flour flurry all over your counter tops. Ms. Greenspan advises mixing the dough just until it looks evenly combined, but not more. (This dough won’t ball like pie dough; it should remain, in her words, “soft and moist”) Fold in the walnut crumbles, again until just combined.
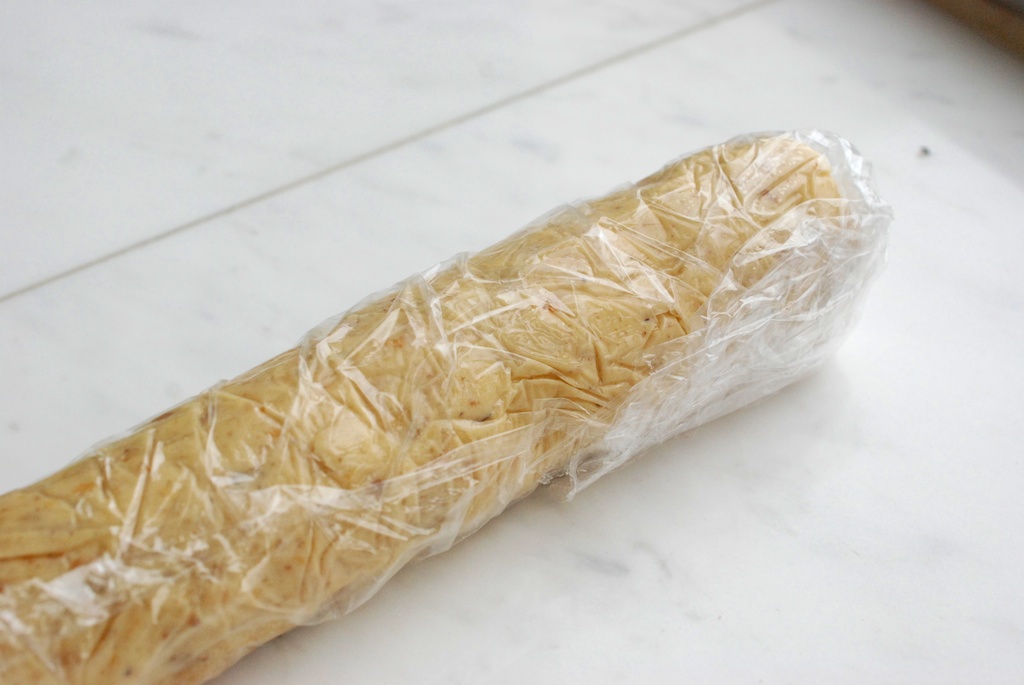
4. Scoop half the dough from the bowl and lay it on a clean stretch of plastic wrap. Using the plastic wrap to help you, roll the dough into a log 10-10.5 inches long (in case you don’t have a measuring tape, that’s the length of a piece of computer paper). Repeat this process with the second half of the dough. Toss both logs into the fridge and let them chill for no less than 2 hours. (Conveniently, these logs will remain happily in the fridge for a few days, or in the freezer for a couple of months.)
5.When the logs are well-chilled, heat the oven to 350F. Line 2 baking sheets with parchment paper. (My advice is to keep the baking sheets away from the oven; you want the sheets and the cookies to be as cool as possible before entering the oven.)
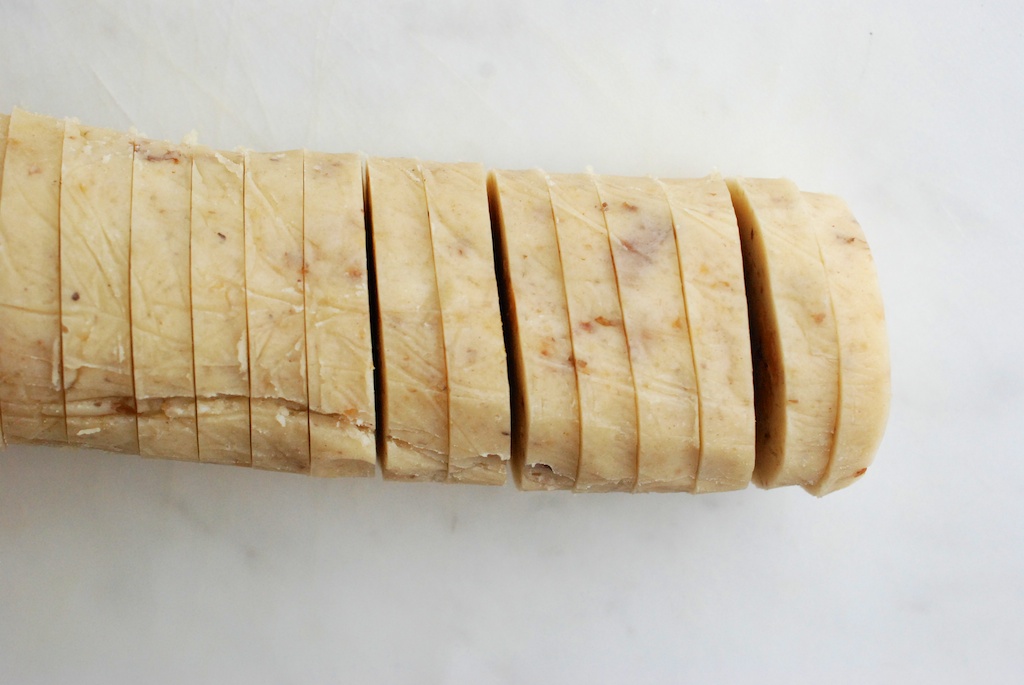
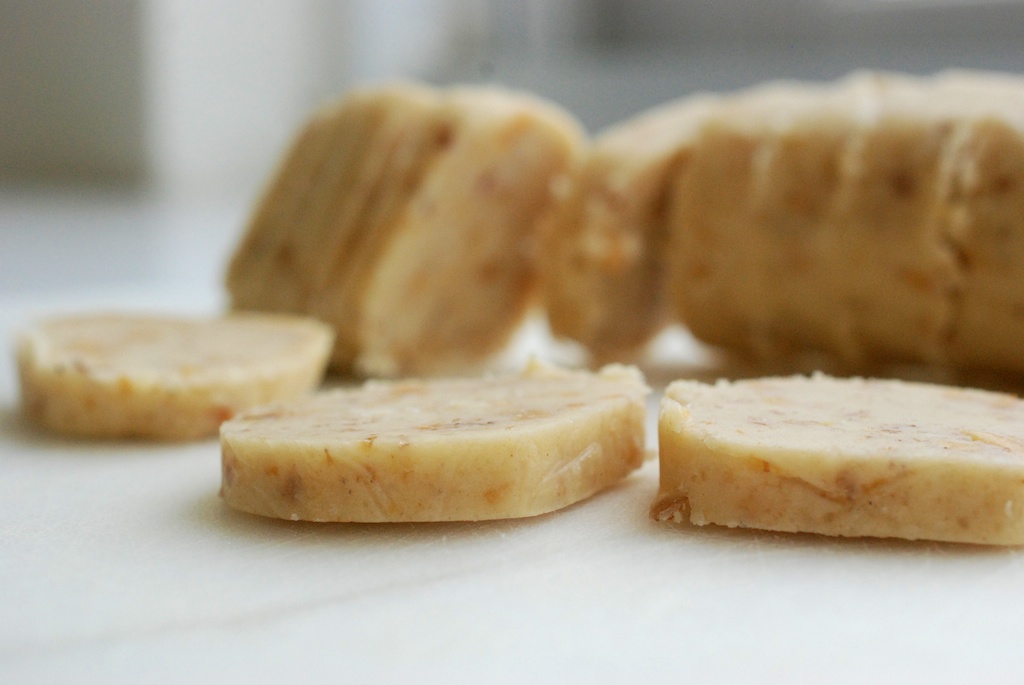
6. Portion both logs into cookies, each 1 mm (or 1/3 inch) thick. (Note: I am not an expert cookie slicer. As a result, my sablés osculated in thickness a bit. It’s fine if yours do too.) Lay each cookie on a baking sheet, making sure to leave a little of space between each cookie. (Also, feel free to cut off the end bits of each log, which will probably be a sort of rounded any way. Keep these for a “baker’s tasting”.)
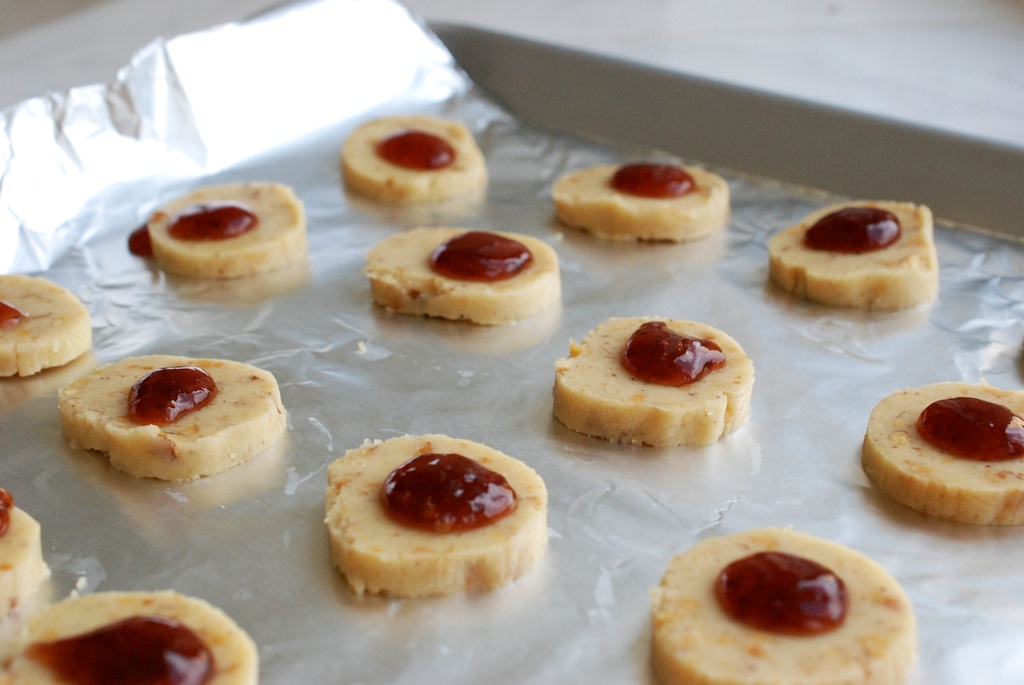
7. My advice on jam: scoop about 1/4 cup of jam (to start) into a plastic baggie. Seal the top, and the cut a small hole into one of the bottom corners. As if it were a pastry bag, dollop a small circle of jam into the center of each cookie. Then move the baking sheets to the oven.
8. Bake the sablés for about 20 minutes, or until the cookie’s edges turn golden. Let the sablés hang out on the baking sheet for a minute or 3, and then move them to a wire rack for cooling. Let the cookies cool before eating; these cookies taste better a few hours later.
Those are really nice sablés, I wish I could test them.
Would you also do it with salted butter in order to get a similar taste as sablés from French Normandie?
The problem with using salted butter (especially in baking) is that there’s no way of knowing exactly how much salt is going in to each cookie, meaning you lose control of how salty each cookie tastes. But yes, the next time I’m in France, I will try them with salted butter!
I love these cookies. Seriously they are some of my favorite, but I’ve never made them. Does the jam get a little chewy when baked? That’s always been my favorite part.
I hope you try them! The jam does get chewy, and the flavor concentrates in the oven.
Great looking cookies!
Thanks, Julia!
Can I order some for my birthday?
Beautiful and look so tasty.
Wonderful photos
Bravo
Yes you can! Bisous!
These look amazing, I can’t wait to try them. Great photos
Thanks, Chris! I hope you do try them.