
As promised, welcome to part one of The Roaming Kitchen’s two-part series: Thanksgiving desserts. Please try to contain your excitement!
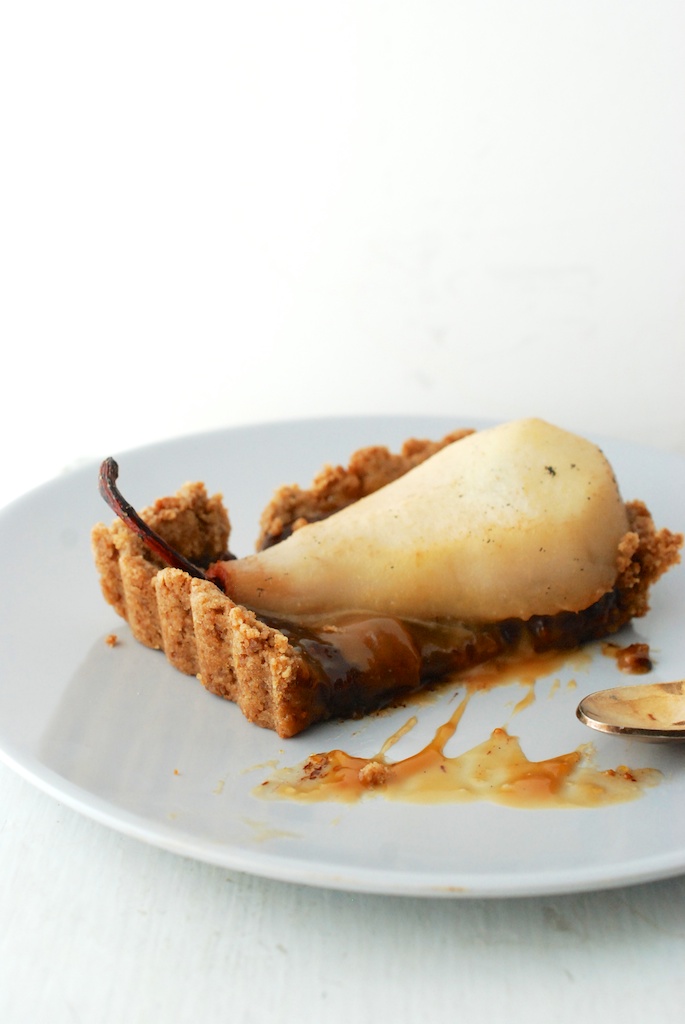
I wanted to try my hand at a poached pear dessert, so here we are. I wondered if I should pair my poached pears with chocolate, or perhaps ginger, or possibly caramel, or perchance figs. And then, because it’s the holidays and a time for a wee bit of decadence, I decided to include them all.
This tart has quite a few steps, it might be true, but none of them are difficult, and all of them are an excuse for family participation in the kitchen. If you don’t feel up to making the whole tart, however, you can simply make the poached pears alone, and match them with: ginger snaps, a drizzle of chocolate or caramel, a dollop of mascarpone whipped cream, a sprinkle of crushed, toasted hazelnuts, a spoonful of vanilla ice cream, or whatever else you wish. All would make a pretty (and delicious) picture on your Thanksgiving table.
Of course, you should continue making this dessert past Thanksgiving. I think poached pears look (and taste) decidedly sophisticated, although they are quite easy to produce, and conveniently take any number of complimentary toppings. This means you can customize your poached pears all winter, whether for breakfast with thick yogurt, or warm cereal and maple syrup, or as a simple weeknight dessert, tossed with a couple of chocolate chips, or dressed up, for when you have company.
You can also customize the pear poaching liquid, depending on your personal preferences. Try playing with: vanilla bean, various dark sugars, citrus peels, nutmeg, cinnamon sticks, fresh ginger, cloves, allspice, star anise, cardamom, red or white wine, cider, raisins, honey, or even bay leaves or pink peppercorns. Use your imagination.
On Tuesday, look forward to the gripping conclusion of The Roaming Kitchen’s two-part Thanksgiving dessert bonanza: Rosemary-Cheddar Apple Pie.
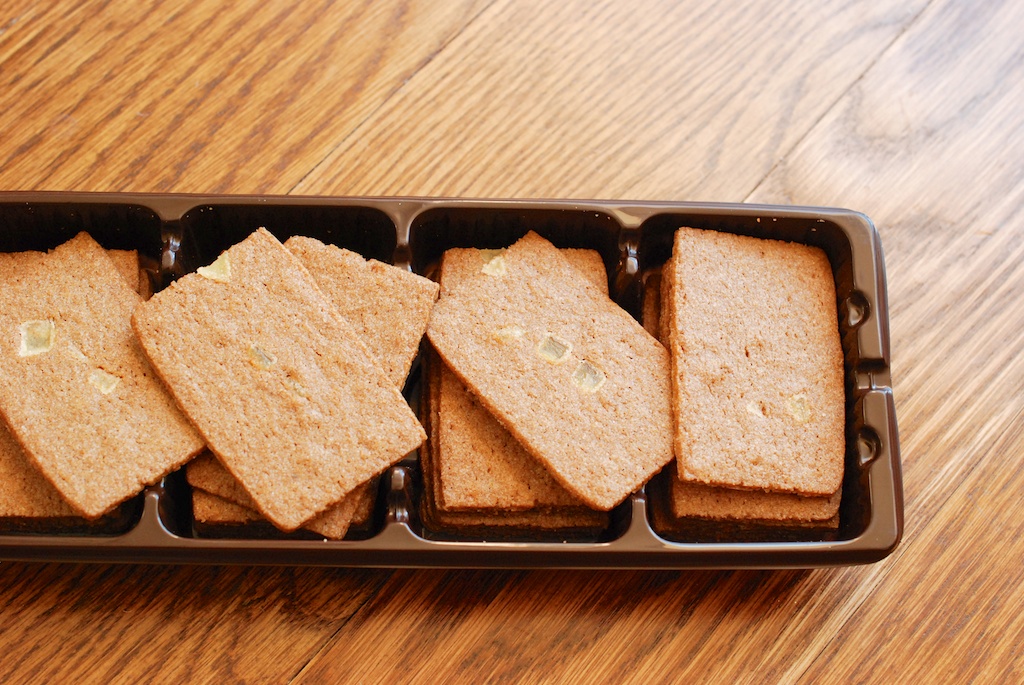
A note on the ginger snaps: If you can’t find Jules Destrooper Ginger Thins, you are welcome to use your favorite ginger snap. 1 box of Jules Destrooper has 24 ginger snaps, or 95 grams, or 3.35 ounces worth of cookie.
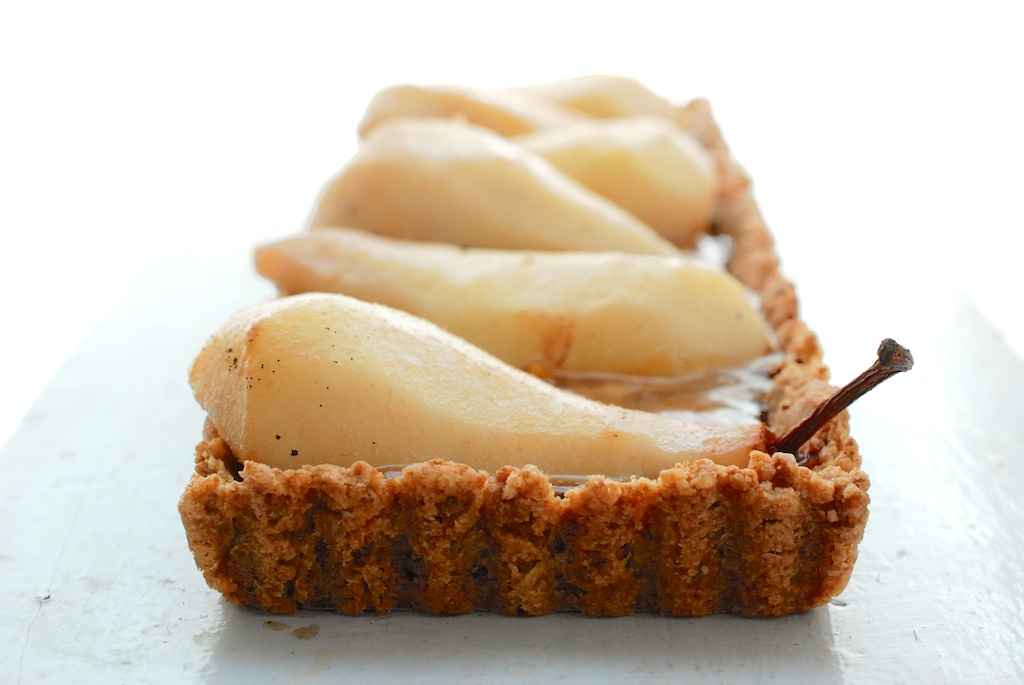
A note on the tart pan: I used a rectangular, 4 x 13-inch tart pan, but you could also use a round, 8-inch tart pan.
Ginger Snap Crust Ingredients:
- 1 box Jules Destrooper Ginger Thins
- 2 tablespoons dark brown sugar
- 1/4 teaspoon freshly grated nutmeg
- 1/2 cup flour
- pinch of sea salt
- 5 tablespoons unsalted butter
- 1 tablespoon leaf lard (or vegetable shortening)
Ginger Snap Crust Procedure:
1. Heat the oven to 350F.
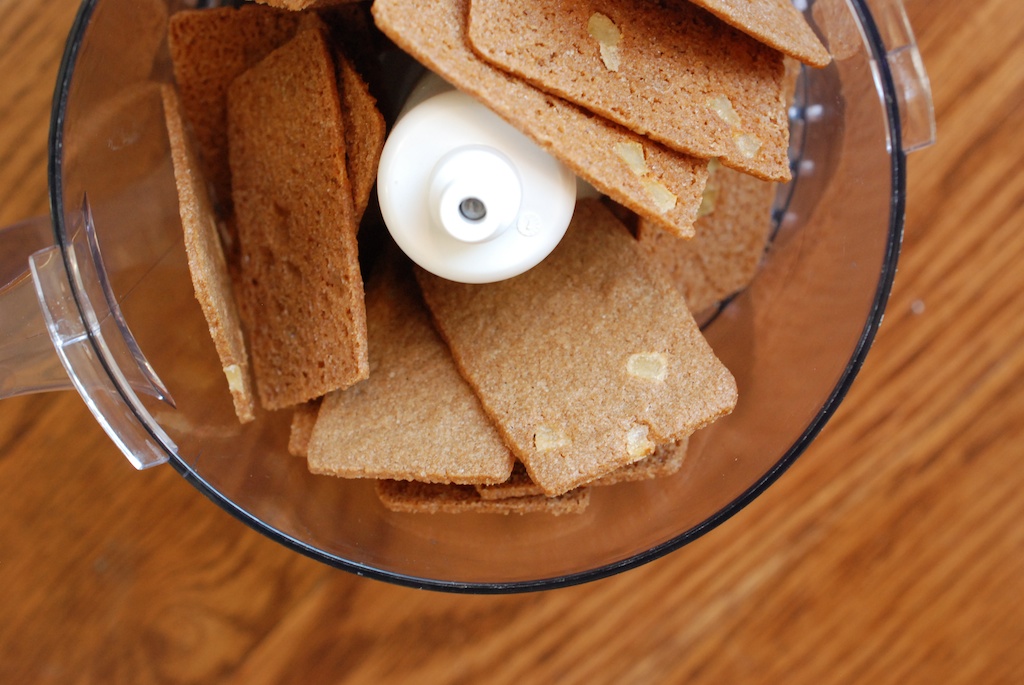
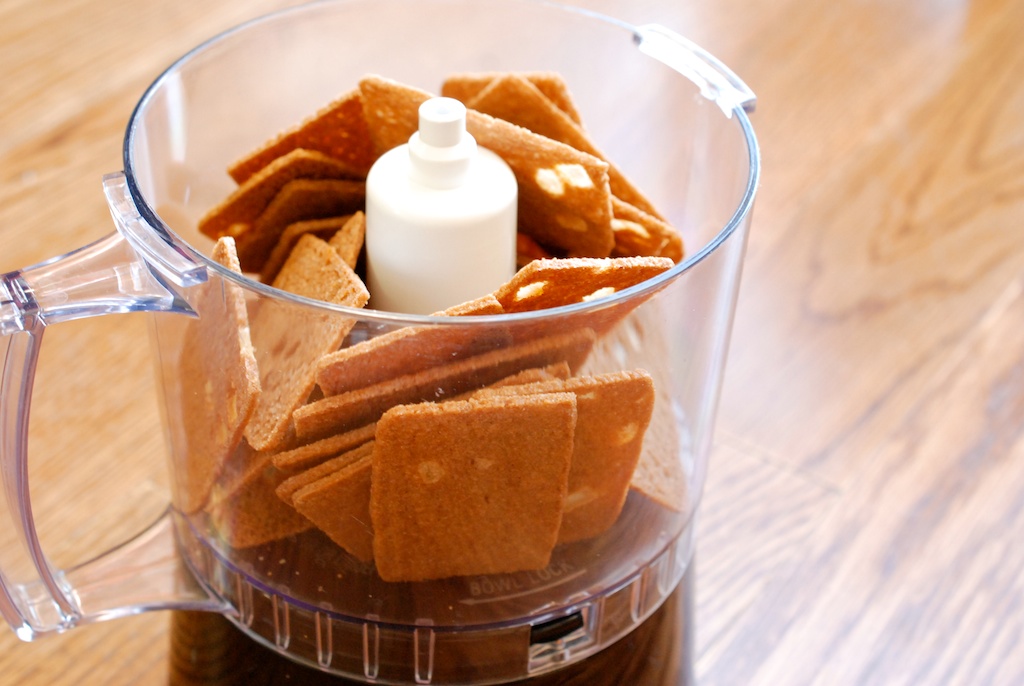
2. Move the ginger snaps to a food processor. Pulse until they are quite dusty, about 20 seconds. Add the dark brown sugar, the nutmeg, the flour, and the sea salt, and pulse a few times, until the dry ingredients combine. Add the butter and the leaf lard bit by bit, mixing as you go, until moist crumbles form, and the butter/leaf lard is thoroughly combined with the dry ingredients.
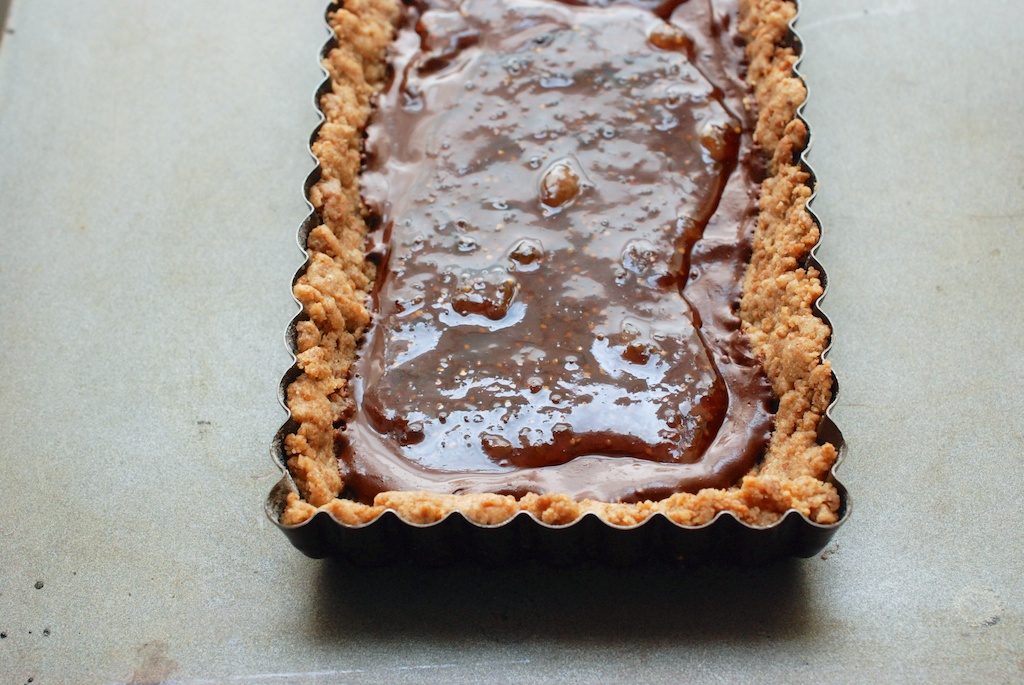
3. Grease the tart pan if you wish, and then pour in the crust crumbles. Use your fingers to form the crust, making sure to press evenly into the edges.
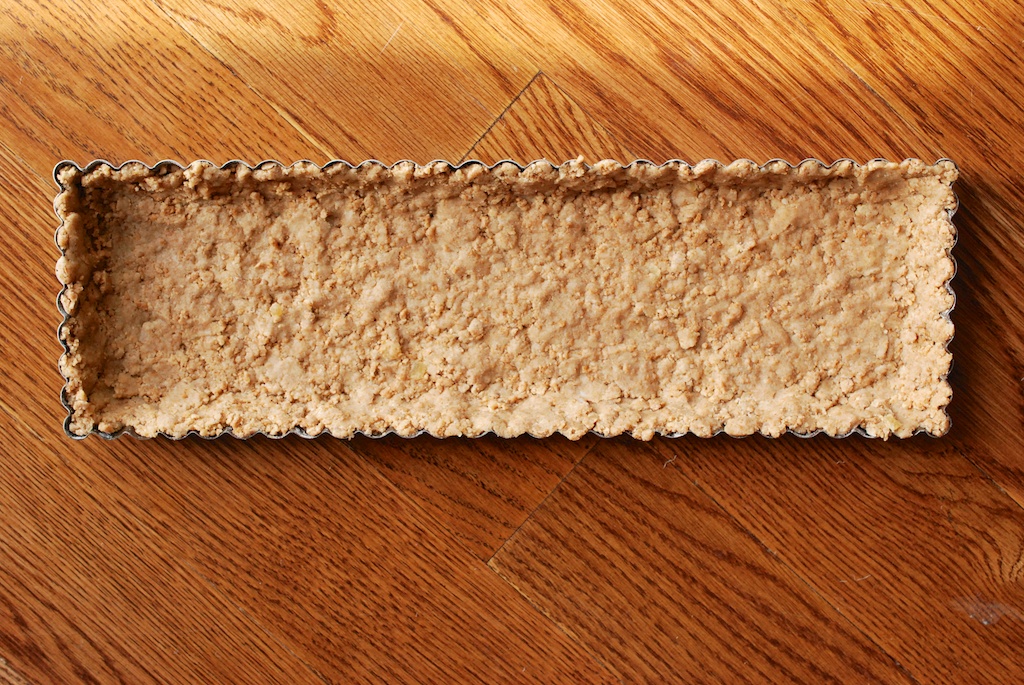
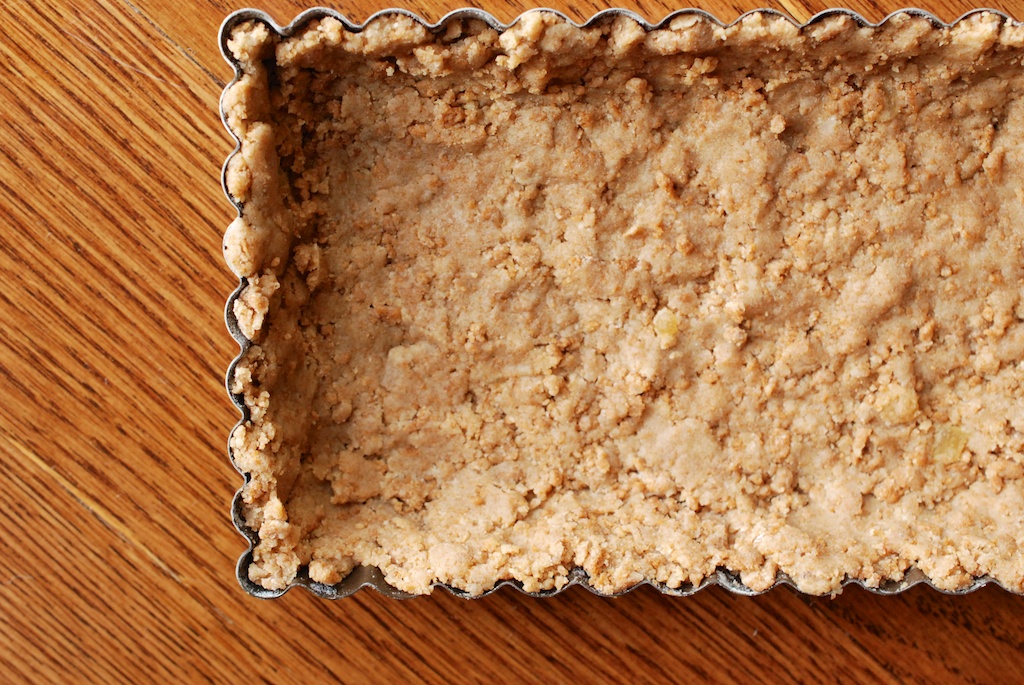
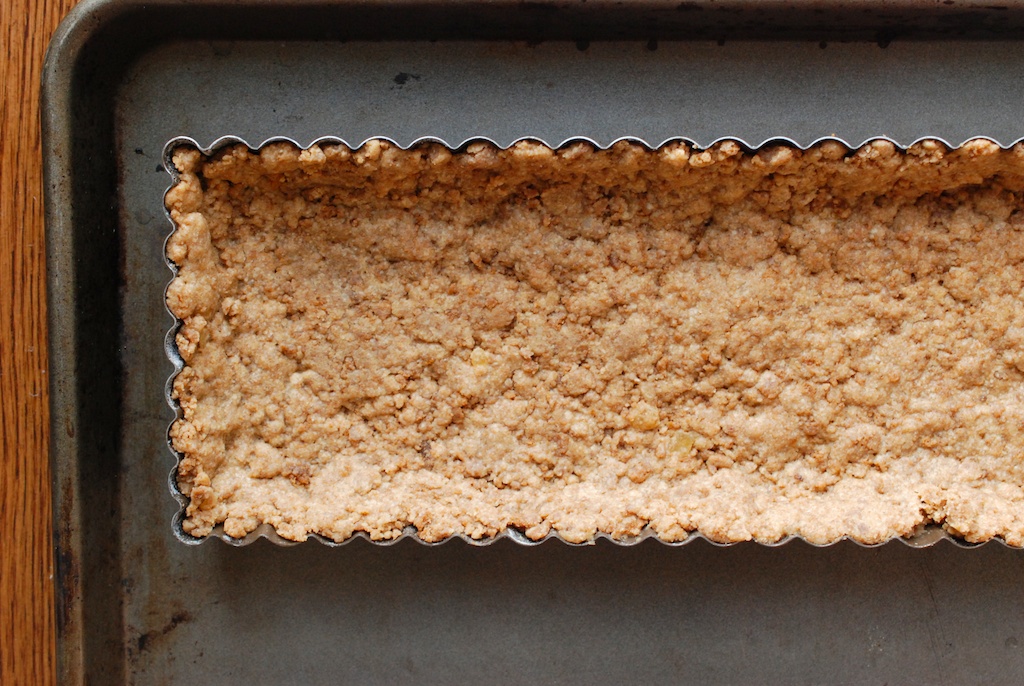
4. Move the tart pan to a baking sheet, and the baking sheet into the oven. Bake for 10 minutes. Remove the tart from the oven, and allow the crust to cool in the pan while you prepare the other ingredients.
Poached Pear Ingredients:
- 4 Bosc pears
- 1/4 teaspoon freshly grated nutmeg
- 1/2 cup golden (or light brown) sugar
- 1/2 a vanilla bean, scraped
- tiny pinch of sea salt
- 1 tablespoon lemon juice
- 4 cups of water
Poached Pear Instructions:
1. Peel the pears and slice them in half. Using an melon baller, you can remove the cores from each of the pear halves.
2. To a wide saucepan or shallow pot, add the nutmeg, the sugar, the scraped vanilla bean, and the pinch of salt. Add the lemon juice and the water, and stir so that the sugar dissolves. Set the range to medium, and when the liquid is warm, gently add the pear halves. Cook for 10 minutes, and then flip the halves to the other side, and cook for another 10 minutes.
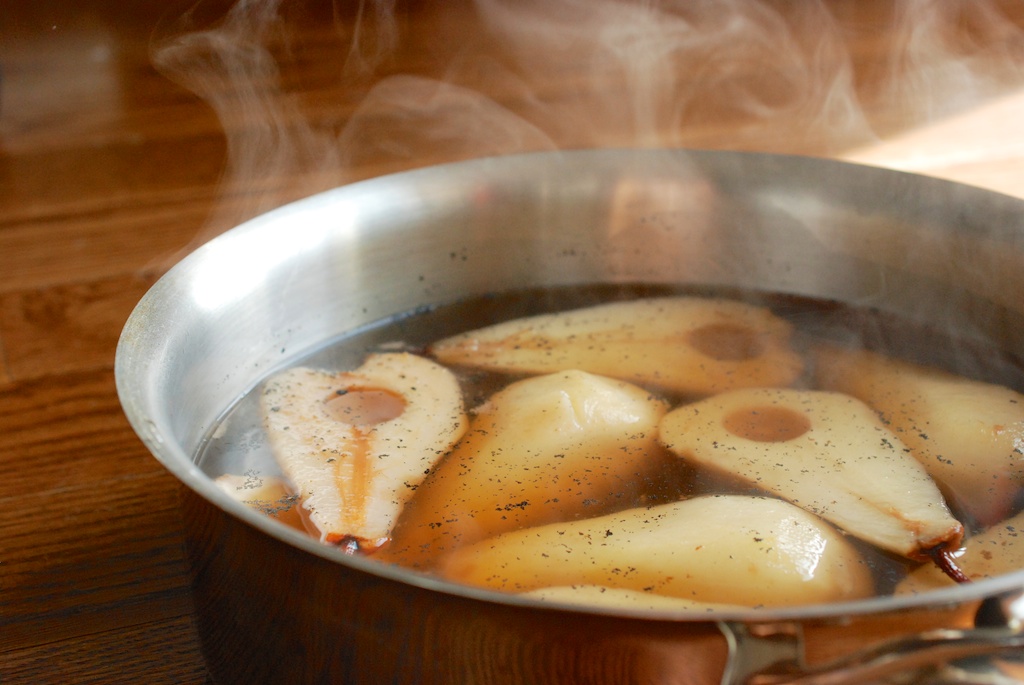
3. Take the pears off the heat, and remove them to a paper towel-lined plate.
Putting the Tart Together:
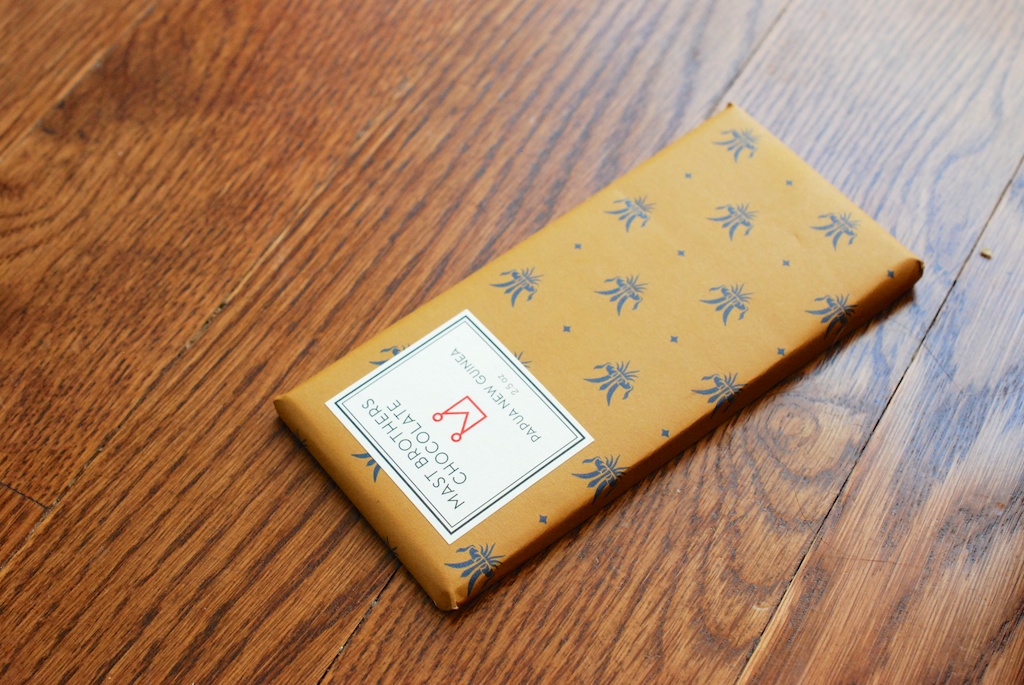
- 1.5 bars of good, dark chocolate (70% cacao; 105 grams)
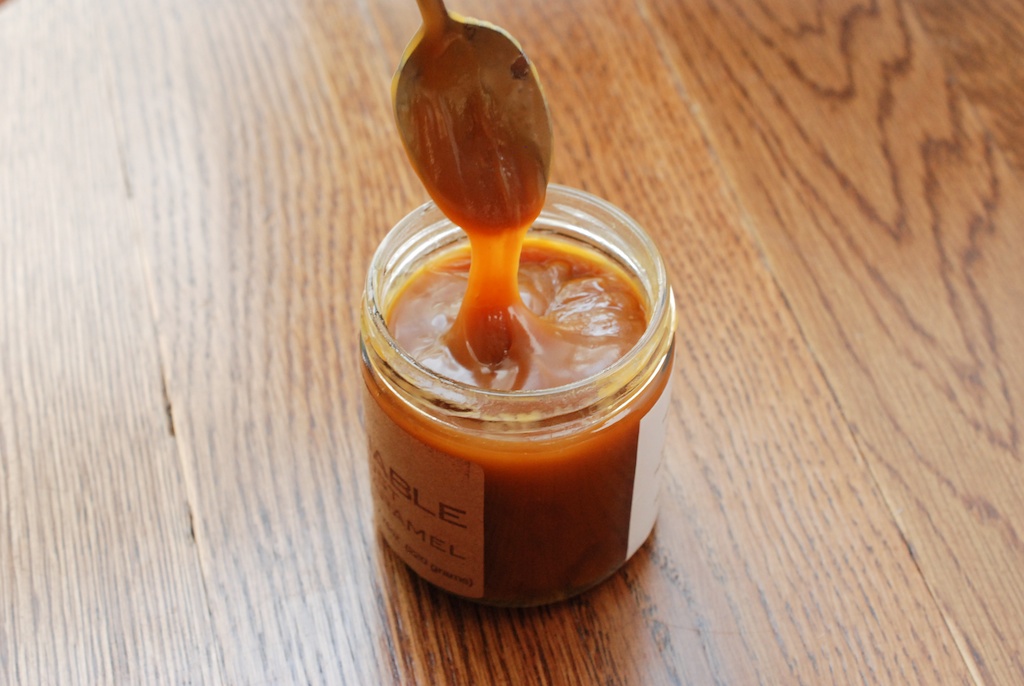
- 1/4 cup caramel
- 1/4 cup fig preserves or jam
1. Melt the chocolate over a water bath. When it is completely liquid, turn off the heat. By now, the ginger crust should be cooled. Pour the chocolate into the base of the tart mold. Allow to cool slightly, about 10 minutes.

2. Spoon the fig preserves to a little bowl, and add a dash of water. Stir to thin out the preserves, so they will spread more evenly. Use a spatula or the back of a wide spoon to spread the fig preserves over the chocolate layer.
3. Spoon the caramel on top of the fig preserves. Don’t worry if the caramel swirls into the fig a bit.
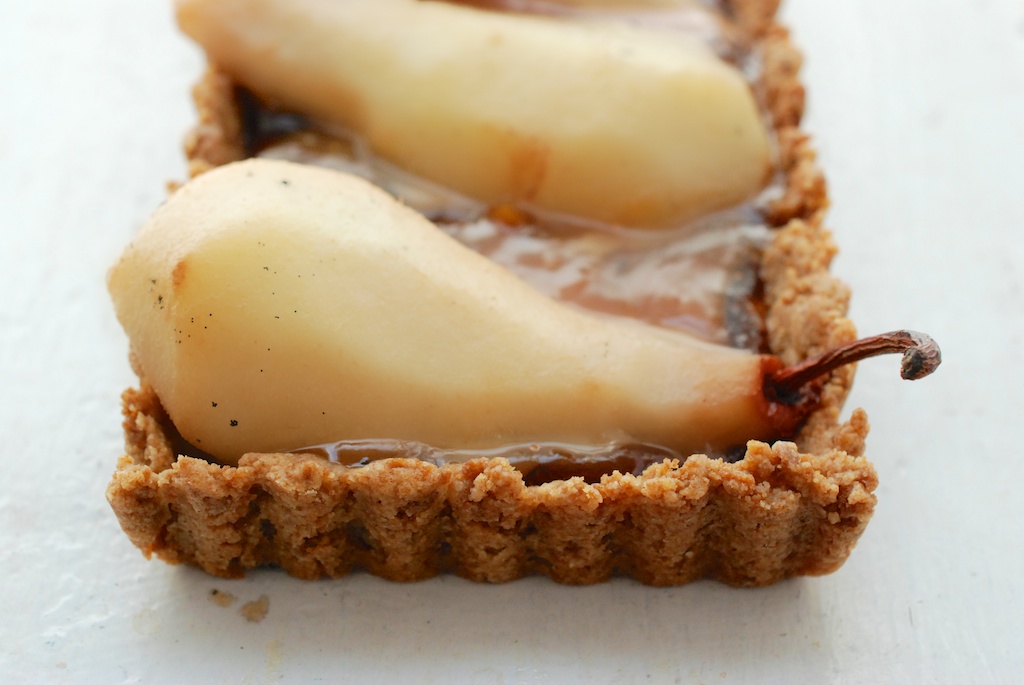
4. Arrange the poached pears on top of the caramel. Carefully remove the tart from the tart mold. Slice the tart so that everyone gets an even portion of pear. Enjoy!

Hello! I am making this for Thanksgiving and it’s my first time making a tart. I’m wondering if its all right to remove the crust from the pan before adding all the other ingredients? My pan is 12” (round) so it might be difficult. Thanks!
Hi Ellen, I’m so pleased you’ll be making the tart! I understand that a round pan might become a bit unwieldy after adding the (rather heavy) pears. By all means, remove the crust ahead of time; just keep in mind that this is more of a crumbly tart, so fill it with a gentle hand. If it were me, I might spoon on the chocolate, fig, and caramel with the pan walls in place and then remove the crust. You can arrange the pears after with the crust removed, which should make life easier!
Cris!
I’m still dreaming about having these poached pears with the caramel you thoughtfully gave me. Best breakfast ever! xo