Hold onto your hats, ladies and gentlemen: Welcome to part two of The Roaming Kitchen’s two-part series: Thanksgiving Desserts!
At the moment, I am down in sunny Florida visiting family, and feeling very glad that I baked and photographed this pie before I flew down here. (Although, to be honest, I spent all of today indoors, laboring over three pots of turkey stock–because I’m insane–much to the Frenchman’s chagrin. I vow to fully enjoy the waves tomorrow!)
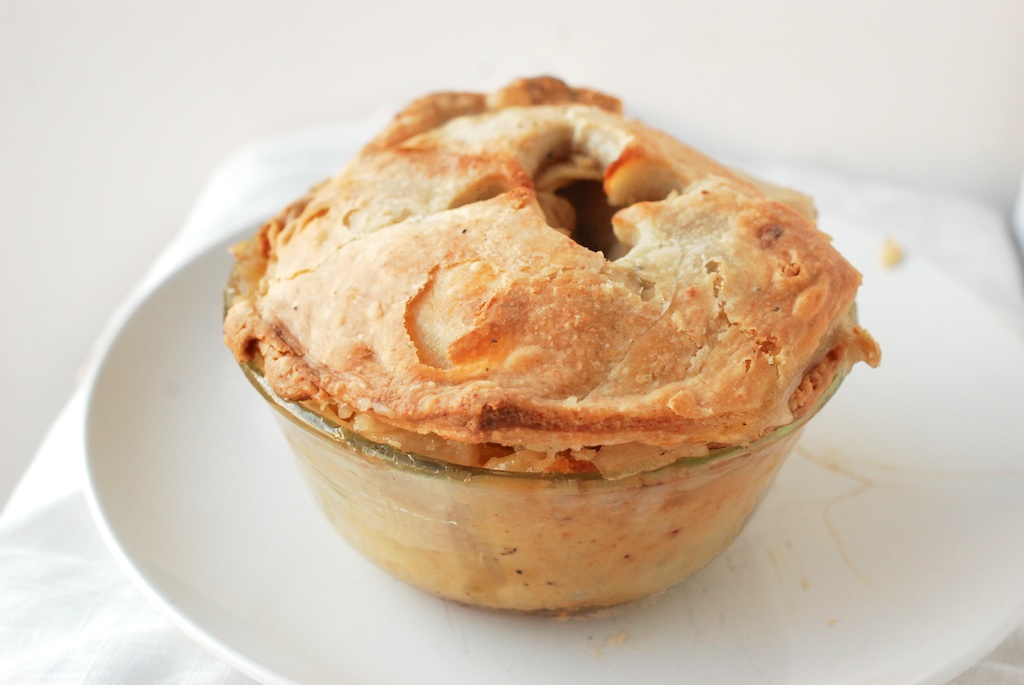
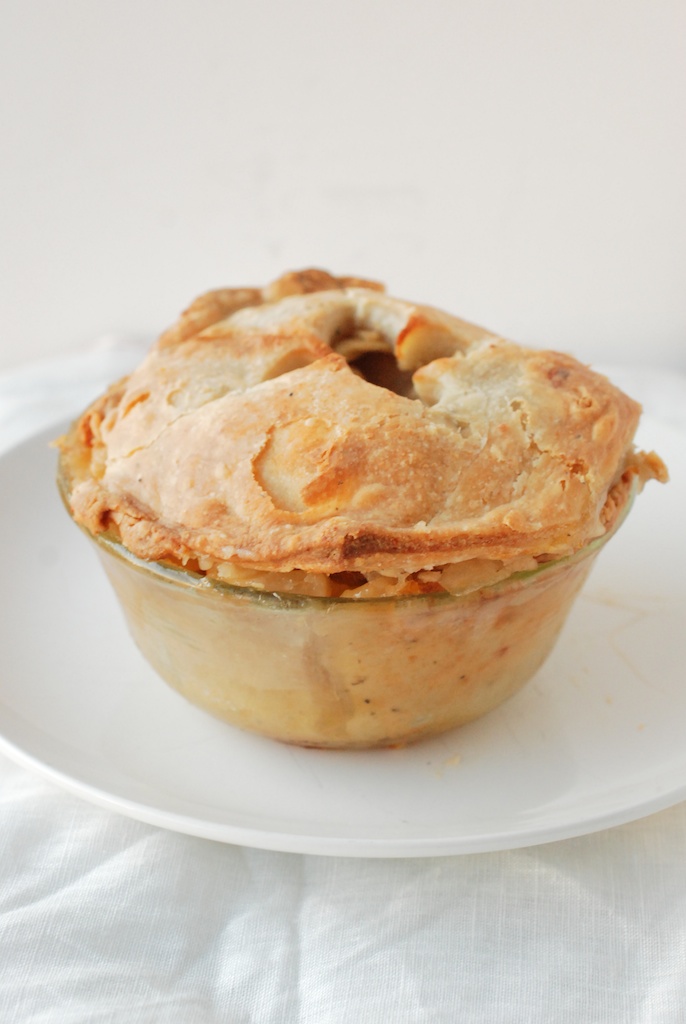
Since apple pie is a standard at any Thanksgiving table, I offer you the version I’ve been baking lately, should you wish to honor tradition while deviating slightly where flavor is concerned.
The incorporation of rosemary and cheddar tack the pie ever so slightly in a savory direction, while keeping a firm foot in the flavors of fall. Once the crust is made (which you can do days, or even weeks, ahead of time), simply slice the apples, toss with sugar and spice and everything nice, and pop that puppy into the oven. It’s really quite simple.
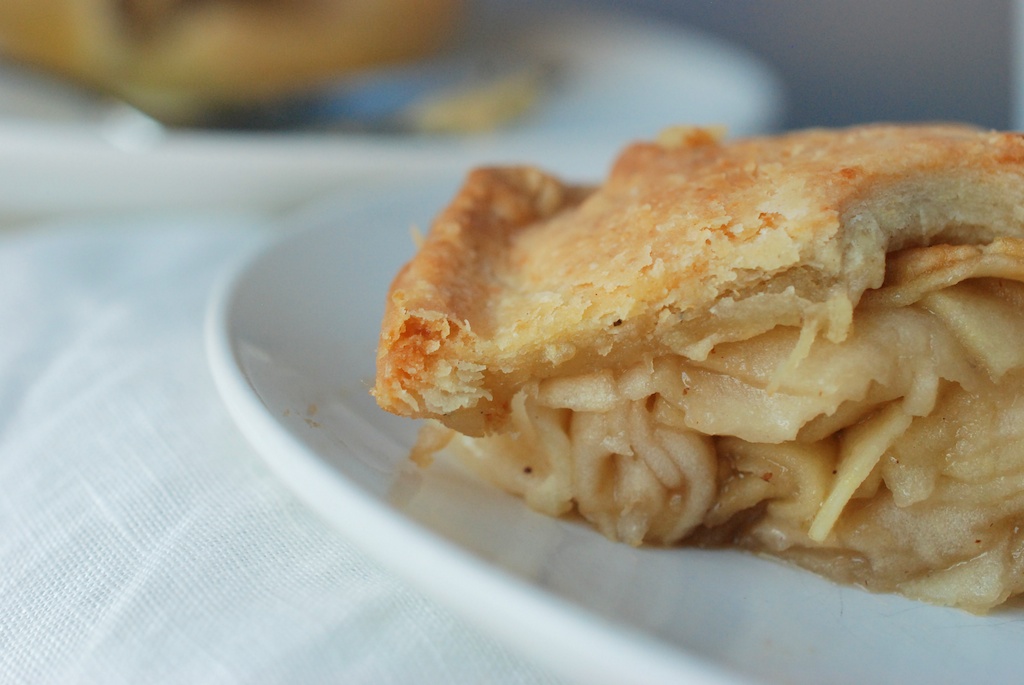
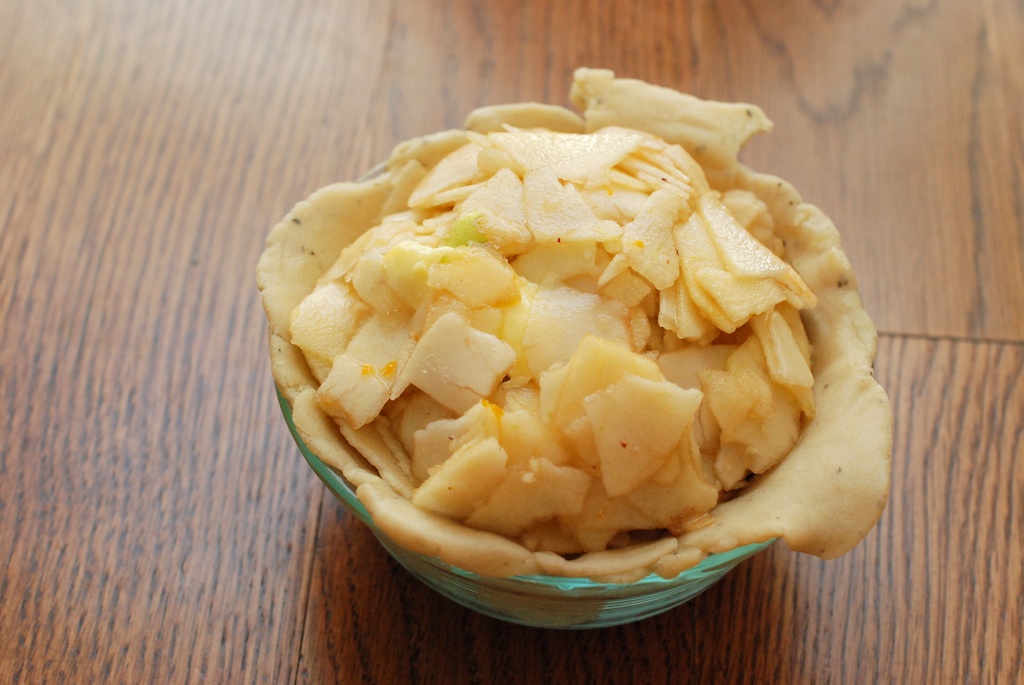
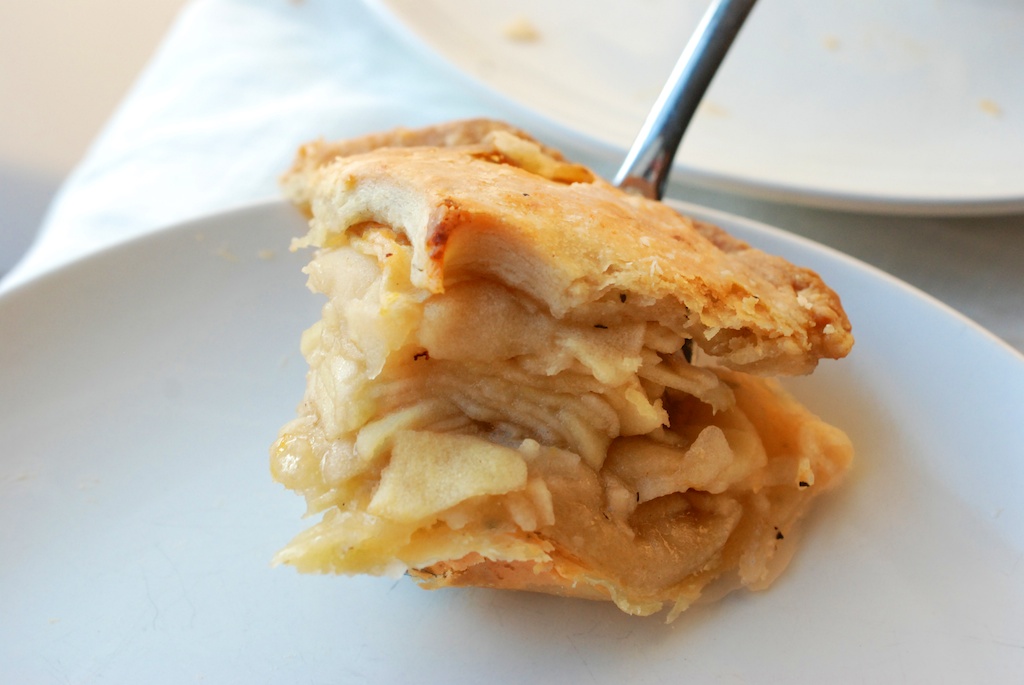
I like using a mishmash of apples (read: my CSA box is full of apples I can’t identify), because they react to heat differently, and then the apple filling has textural variety. Slicing the apples so thinly results in a warm, flavorful slush that holds together but is never goopy, like store-bought filling can be.
Even if you decide to forgo the cheddar and rosemary, I still think this is a great apple pie. Give it a try! And on Friday, look forward to a multitude of ideas for how best to enjoy your Thanksgiving leftovers.
A note on the lard: Yes, I know that lard doesn’t have a very pretty reputation. And yes, I know it’s fat. However, pie crust relies on fat for its richness and its flakiness, and personally, I’d rather the devil I know. It’s for this reason I eschew vegetable shortening whenever possible: Producing vegetable shortening requires a Ph.D. in chemistry, and can be full of trans fats besides. Making leaf lard is a far simpler process: Extract the fat from around a pig’s kidneys, and then render that fat. No advanced science there.
Leaf lard is the purest form of pig fat available, and has a neutral taste, not a ‘meaty’ one. It’s important to buy from the most reputable producer you can find; personally, I love Flying Pigs Farm.
You will no doubt notice that good quality lard is more expensive than vegetable shortening, but this is for good reason: someone (as in, a human being) made this product with care. As I’ve said before, I would rather buy a small amount of a great product, than gobs and gobs of garbage. If you are interested in learning a bit more, this article is a good starting point.
A note on the cheddar cheese: I chose a tangy goat cheddar for my pie, but by all means, use what you like. My recommendation would be to use a good quality cheese, one you could happily enjoy on its own, as the cheese you use will affect the taste of the crust. I would also advocate a harder, dryer cheddar if possible; too much moisture will weigh down the crust and prevent it from baking up as flaky as can be.
I would also recommend grating the cheese as finely as possible. Use a microplane grater if you have one; otherwise, the smallest holes on a cheese grater.
A note about butter temperature: Here’s how it is: The colder the butter is going into the crust, the flakier the end result will be. I’ve tried various methods. Most recently, I’ve been slicing butter thinly, then moving said butter to the freezer for a while. However, I just came across this method, courtesy of the smart and kitchen-savvy people at Food52, and it seems both easy and practical.
A note on Pineau: Pineau, or Pineau des Charentes, in a fortified wine produced in the Frenchman’s region. It’s made with fermented grape must (grape juice + skins) and Cognac, and is lovely–luscious, slightly sweet, prune-y, Cognac-y–both in cooking, and as an apéritif. If you can’t find it, you can substitue half as much Cognac, or even bourbon.
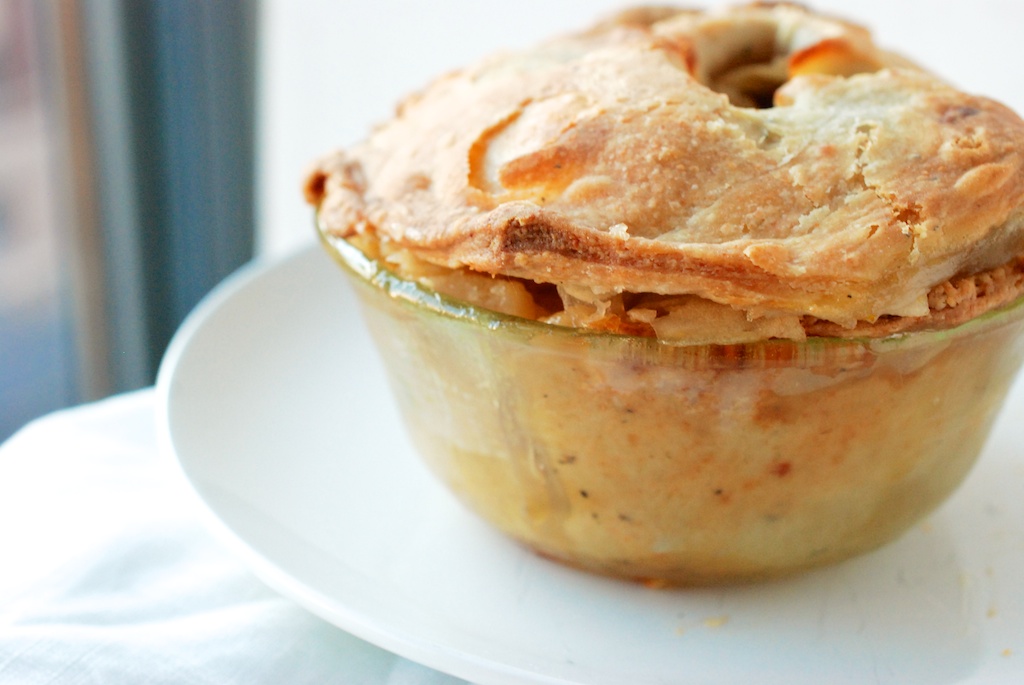
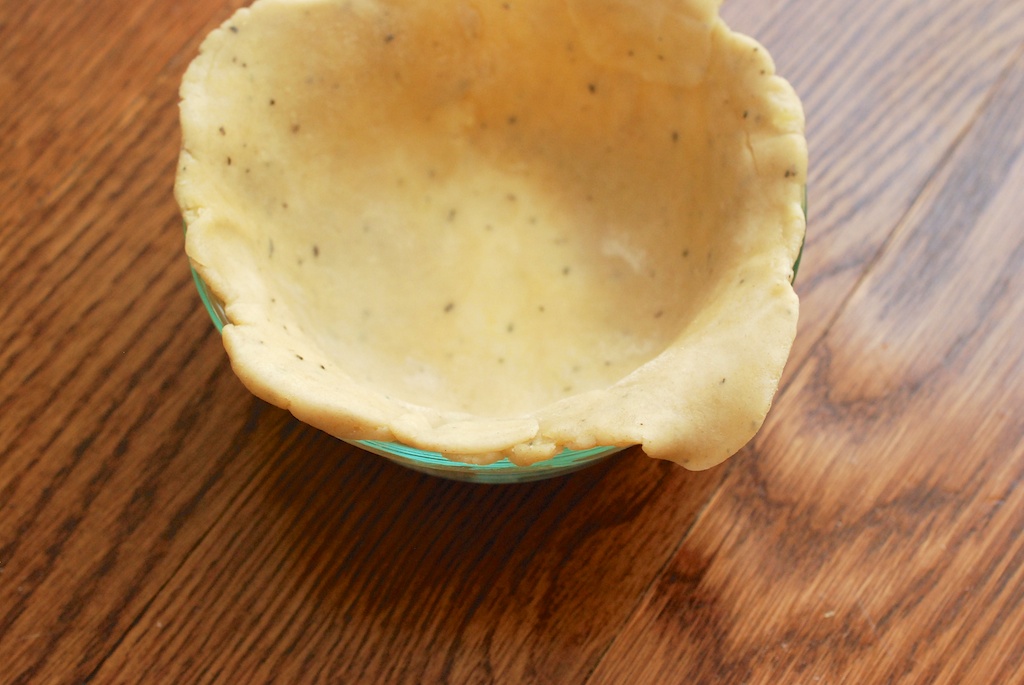
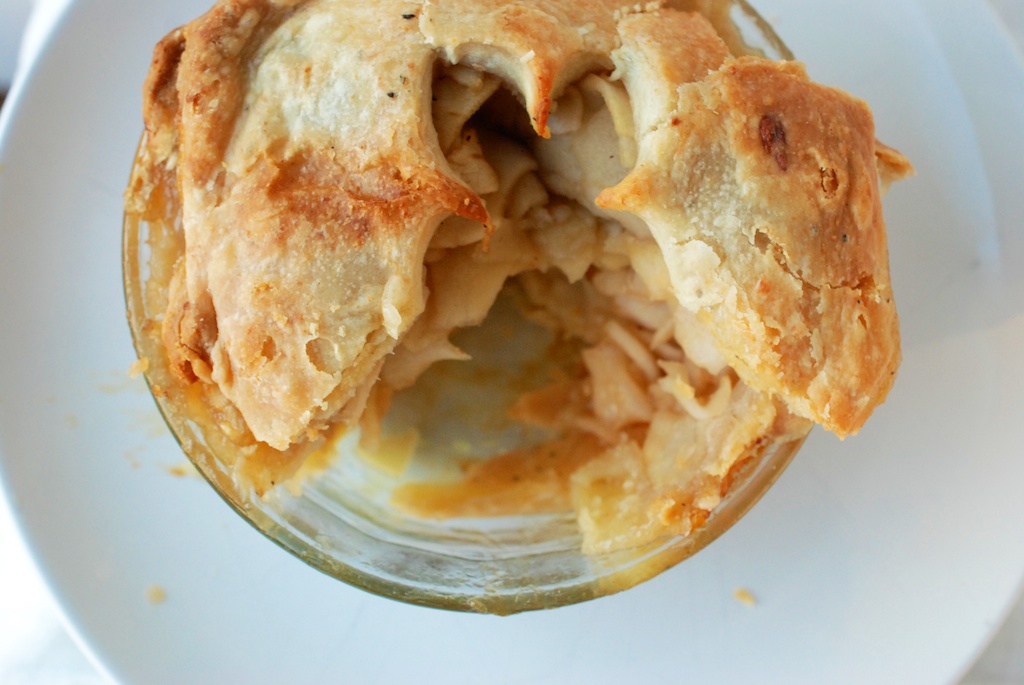
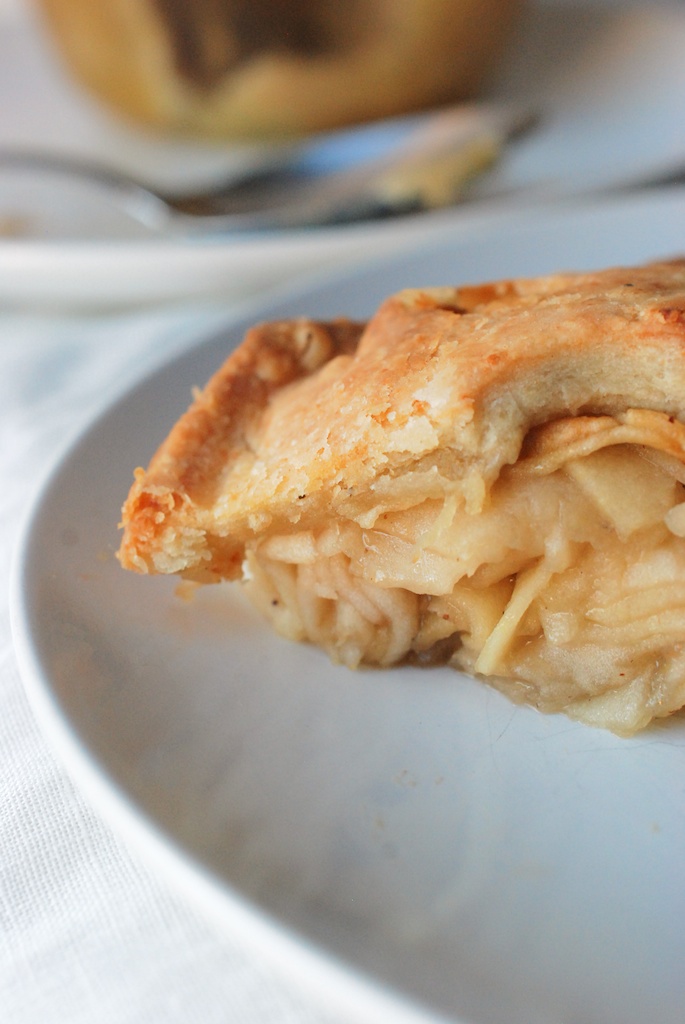
A note on the pictures: First, your eyes are not deceiving you; the pictures do no depict a full-sized pie. I didn’t take pictures the first few times I made this dessert, so I simply used extra rosemary-cheddar crust to make a mini one for photos. Second, sorry the pictures are a bit crummy; winter light through my one available window is not a friend.
The pie crust recipe was adapted from Cook’s Illustrated
Pie Crust Ingredients:
- 2.5 cups flour
- 1 teaspoon sea salt
- 2 tablespoons sugar
- 1.5 sticks cold unsalted butter
- 1/2 cup cold leaf lard
- 3 tablespoons cold vodka
- 5 tablespoons cold water
- 2 tablespoons finely chopped rosemary
- 3/4 cup finely grated cheddar cheese
Yields dough for one 9-inch double-crust pie
Pie Crust Procedure:
1. Move 1.5 cups of the flour, all of the salt and the sugar to a food processor. Pulse once or twice, just to distribute the dry ingredients.
2. Add the butter (chilled as much as possible, and sliced or grated), as well as the leaf lard to the food processor. Pulse/process for about 20 seconds, until you achieve uneven clumps–you want the dry ingredients and the butter/lard to start to come together.
3. Use a spatula to scrape the sides of the food processor bowl, and to rearrange the dough around the processor blades. Add the rest of the flour, and pulse for 10 seconds or so, until the flour is distributed. Use a spatula to spoon the dough into a large bowl.
4. Spoon the vodka and the water over the dough, and then use your spatula to fold the liquid into the dough a few turns. Add the finely chopped rosemary and the finely grated cheddar, and continue folding, just until all is evenly incorporated. The dough should have come together, and will be slightly sticky.
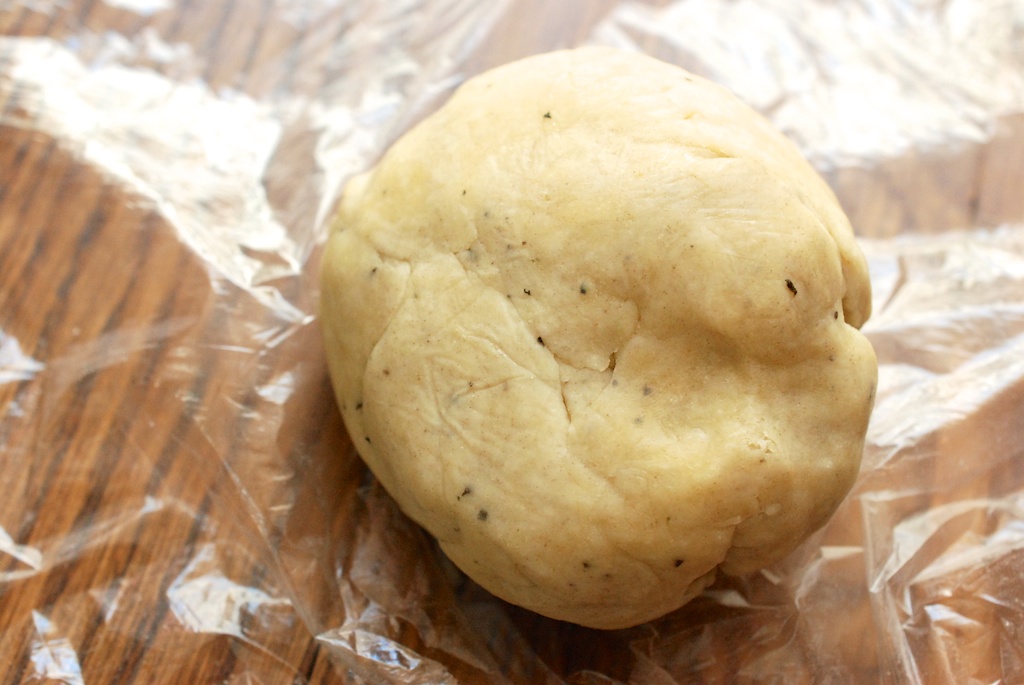
5. Divide the dough in half. Flatten both halves into 4-inch disks, and wrap each in plastic wrap. The dough needs at least an hour in the fridge to chill, but overnight is better, and splits up the work too. (You can also make the dough a couple days ahead and store it in the fridge, or move it to the freezer, where it will remain quite happily for several months.)
Yields filling for a full, 9-inch pie
Pie Filling:
- 6-8 medium apples
- 1/2 teaspoon freshly grated nutmeg
- 1.5 tablespoons Pineau
- 3/4 cup golden (or light brown) sugar
- 1/4 teaspoon lemon zest
- 1 tablespoon lemon juice
- a pinch of sea salt
- 4 tablespoons unsalted butter
- 2 tablespoons flour
Pie Filling Procedure:
1. Heat the oven to 450F. Put a baking sheet in there to heat up as well.
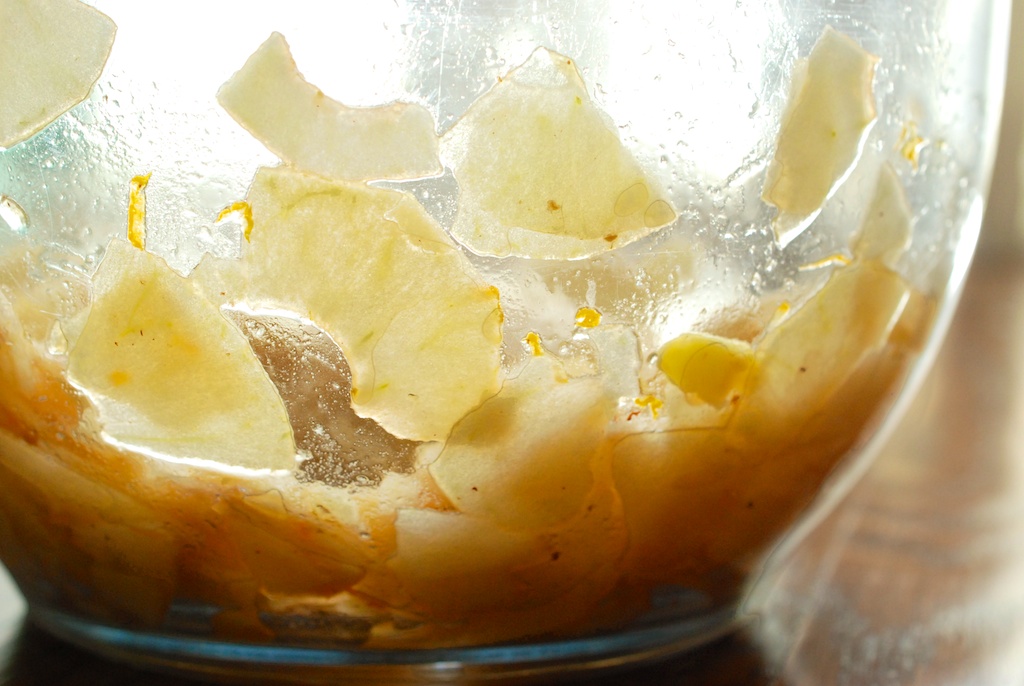
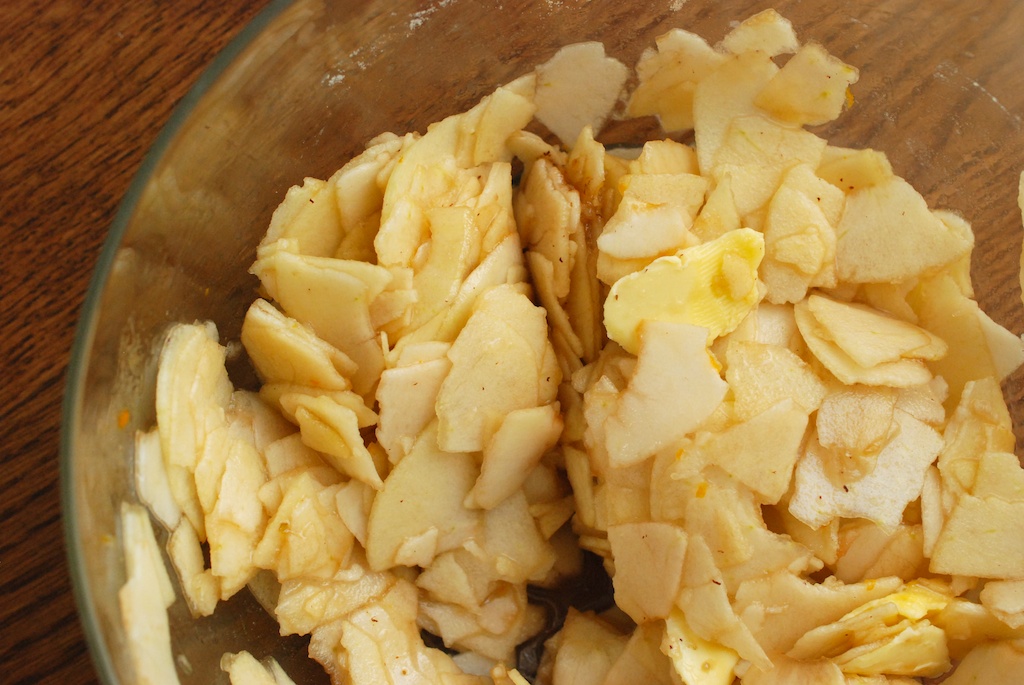
2. Peel, core, and halve the apples. I used a mandolin (or a knife) to thinly slice each apple half crosswise. (Or, you can cut them how you like, as long as the slices/pieces are quite small. By slicing the apples so thinly, some of apples cook, but are still intact, while others turn slushy and juicy. It’s delicious.) As you slice the apples, move them to a large bowl. It’s not a bad idea to add the lemon juice at this stage, which will help prevent the apples from browning.
3. Grate the nutmeg right over the apple bowl. Add the Pineau, the sugar, the lemon zest, the lemon juice if you haven’t already, and the sea salt. Use your hands to toss the apples, until all are evenly coated.
4. Slice the butter into the thinest slices possible, and gently toss those into the apples too. Scatter the flour into the bowl, and toss to coat.
Put the Pie Together:
1. Take the dough out of the fridge. I find it’s easiest to roll dough between two layers of floured plastic wrap, but roll it out however works for you. (An able-bodied Frenchman is also useful in these situations.) You want to roll out both dough discs so that they are about 1.5 inches larger than the pie plate. If the dough starts to get soft on you as you’re rolling, stick it in the fridge for 15 minutes or so, to harden it up again.
2. When the dough is rolled out and ready to go, lower one round into the pie plate. Use your fingers to press it gently into the contours of the pie dish.
3. Now empty the apples into the belly of the dish.
4. Finish by laying the second dough round on top of the apples. Crimp the edges together however you like. (But make sure you crimp the edges, this pie is a bubbler.) You will need to make cuts into the top of the pie, for steam to escape while cooking. You can cut simple lines, or cut out designs, as fancy as you wish.
5. Take the hot baking sheet out of the oven, and gently line it with tin foil or parchment paper. (Be careful not to burn yourself!) Place the pie on the baking sheet, and move it to the oven. Bake for 20 minutes, and then check on the pie; if the edges or top looks like it’s on its way to becoming too brown, cover any offending bit with tin foil. Lower the heat to 375F, and bake the pie for another 20-25 minutes. You will know the pie is done when the top is golden and the pie is bubbling.
4. Remove the pie from the oven, and let cool for at least 4 hours, or overnight. (If overnight, you are free to reheat gently the next day.)

Okay, I’m IN! Love rosemary and apple pie and have made a Rosemary Tarte Tatin several times this fall but never thought to put cheddar in there too. It’s bloody perfect… Thanks and Cheers!
I wish I could be with you to taste this delicious dessert
Enjoy it tomorrow!
Kisses
I love how detailed this recipe is. Thank you so much for the notes for each ingredient- they are the number one reason I read food blogs.
This sounds like an amazing combination of flavors. I love savory things in my sweets. Adorable mini pie, too!