This was supposed to be one tart recipe, but it morphed into two. The reason being, when you toss an assemblage of ingredients into a food processor and hope they will magically whiz together into tart dough, well.. they don’t always cooperate. Baking has rules. Toasted hazelnuts and a stick of butter do not a tart dough make.
The first crust recipe I tried (which you’ll see in some of the pictures) was far too buttery, and too crumbly. (Just take my word for it that there is such a thing.) Even after some solo time in the oven, the crust would’ve been far better scattered over the top of the nectarines than underneath them.
On my second go around, I added more flour, a touch of baking soda, and an egg. These additions provided much needed structure. Note to self: making dough is not reinventing the wheel.
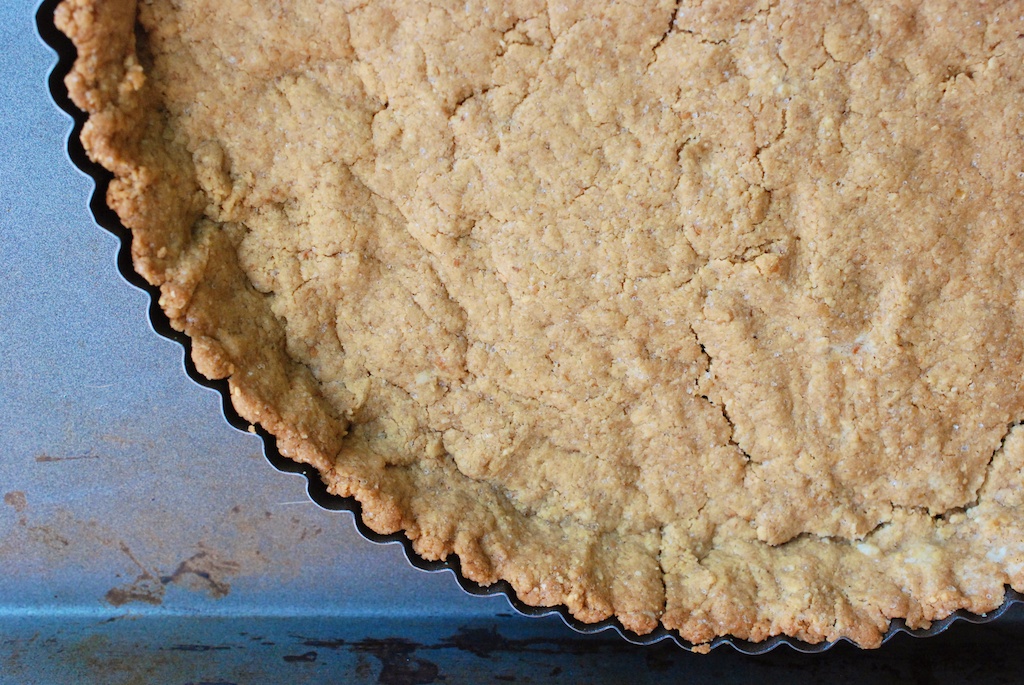
The final result wasn’t perfect, but it did taste good. Spread across a 9″ tart pan, my crust hardened into more of a crisp cookie than a tart crust. (A delicious, warmly spiced cookie that balanced happily against the tart filling, but still).
In future, I might double the recipe I provide below, which I think will give me more of the crust I’m looking for. In the meantime, another idea would be to roll the dough into a log, wrap it in plastic, chill it, then cut it into coins and bake up little cookies to serve with fresh fruit, or as cream-filled snaps.
Tart Crust
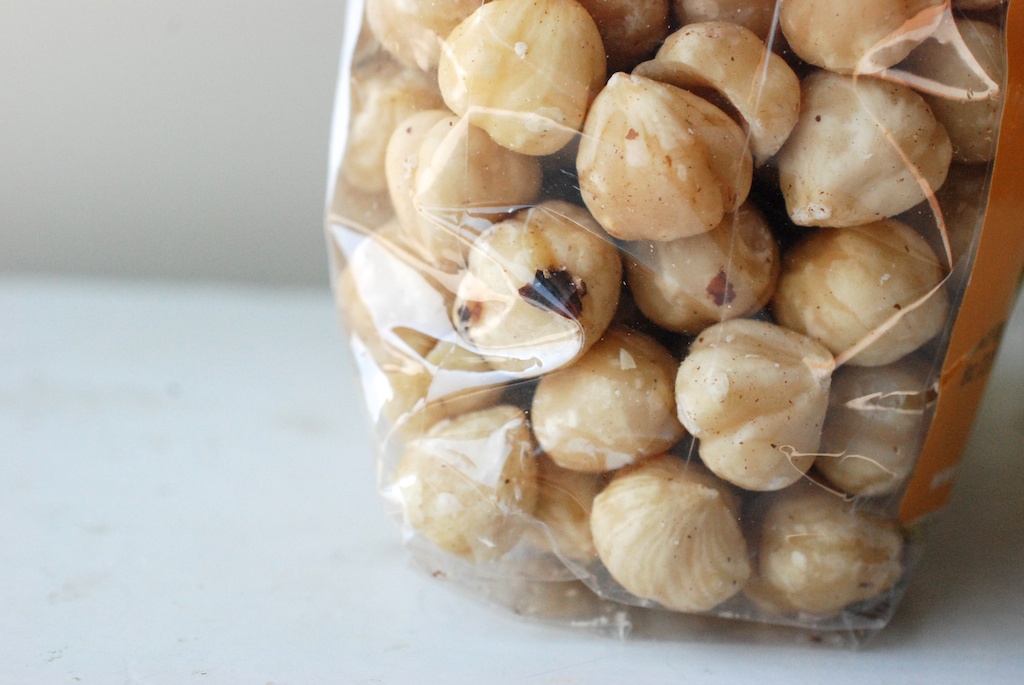
- 1/2 cups hazelnuts
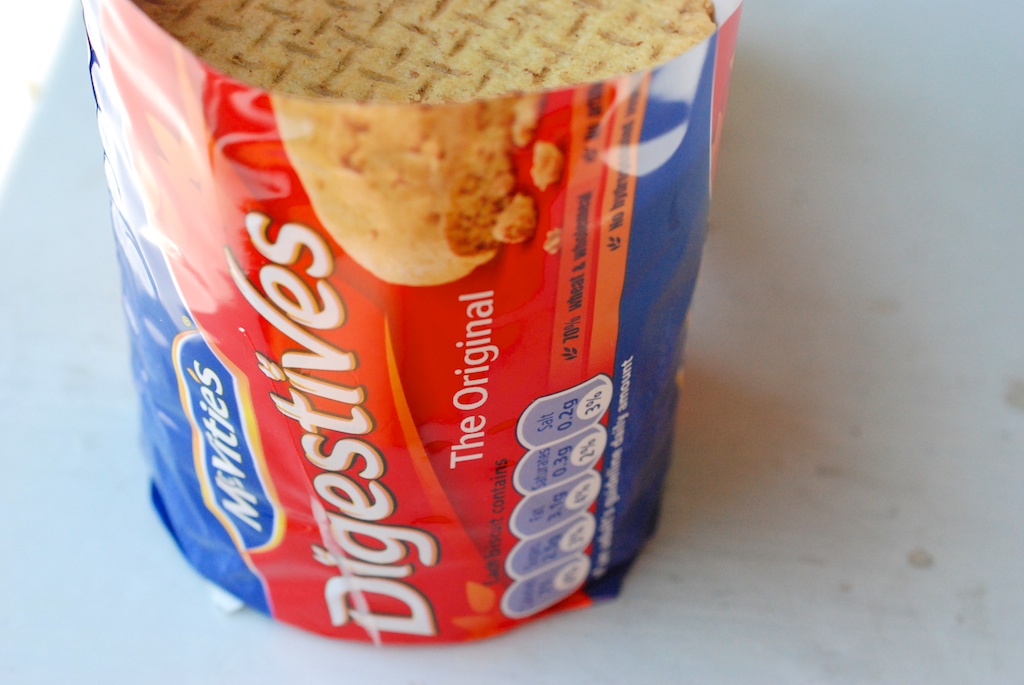
- 6 digestive biscuits (or 1 cup, crushed)
- 1/2 cup flour
- 1/4 teaspoon baking soda
- 1/4 teaspoon freshly grated nutmeg
- 1/4 cup light brown sugar
- 1/2 teaspoon sea salt
- 3 tablespoons unsalted butter
- 1 egg, beaten
1. Heat the oven to 350F.
2. Scoop the hazelnuts onto a parchment (or aluminum foil)-lined baking sheet. When the oven is hot, bake them for 10 minutes, until they are browned in spots and fragrant. Let them cool.
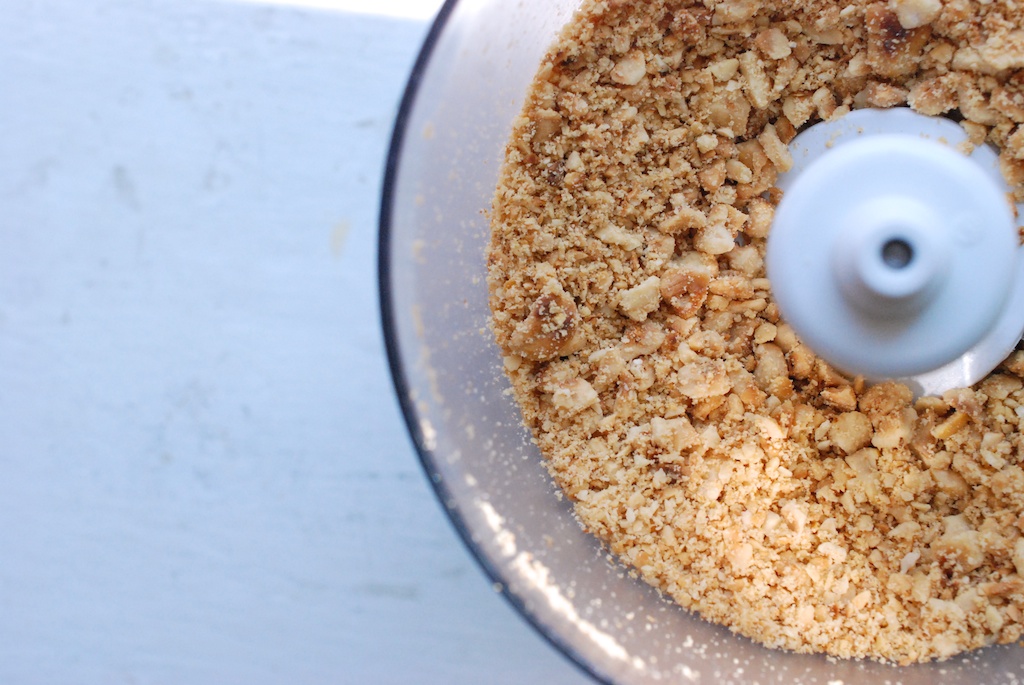
3. When the hazelnuts are cool, move them to a food processor. Blend until they have the consistency of sand, about 1 minute.
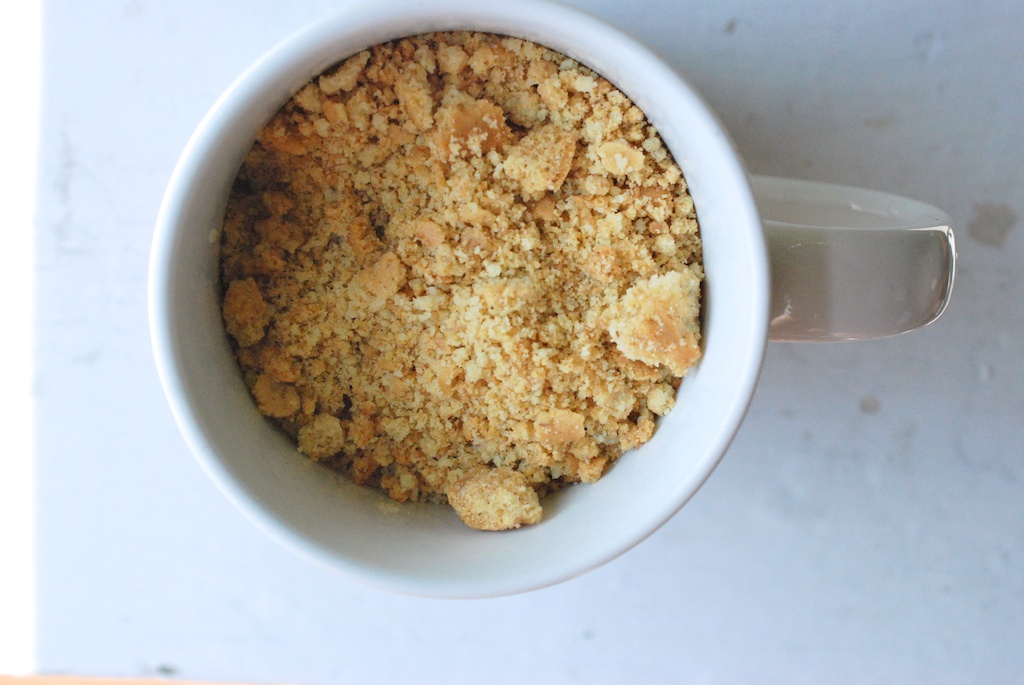
4. Crush the digestives in a large bowl using the bottom side of a mug. When they are at least half pulverized, add them to food processor.
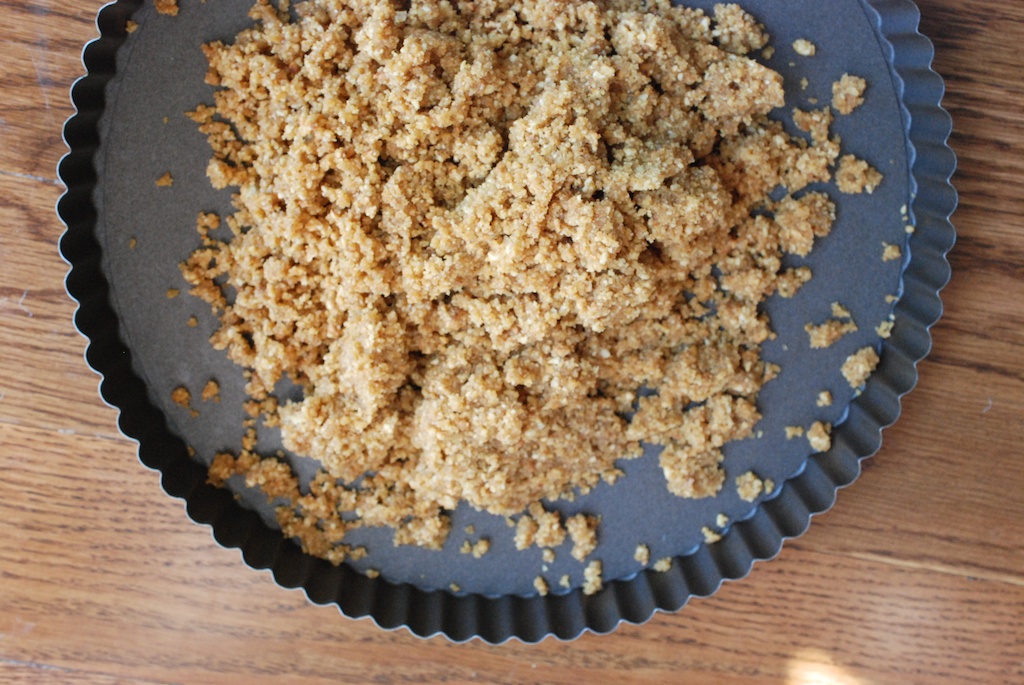
5. Add the flour, the baking soda, the nutmeg, the brown sugar, and the salt. Cut the butter into slivers and add that too. Whiz to combine, adding the beaten egg in one slow, steady stream. You want a dough that is just blended, and that feels like damp sand.
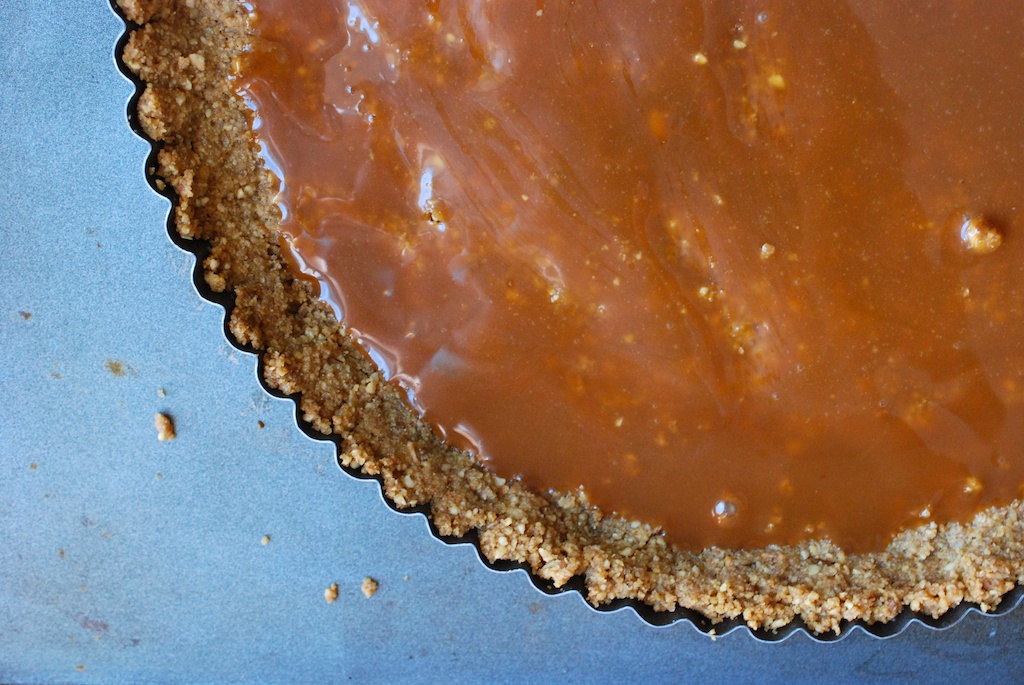
6. Scoop the dough into your tart pan. Use your fingers to fill in the scalloped edges, and then make an even layer in the center of the pan with the rest of the dough. (Remember, this will result in a thin tart; double the recipe if you like.)
8. Fill the pan with pie weights (dried beans on aluminum foil work perfectly well for me), and move the tart to the oven for 10-12 minutes. Allow the tart to cool completely.
Now you can decide what to fill the tart with. I will give you two ideas.
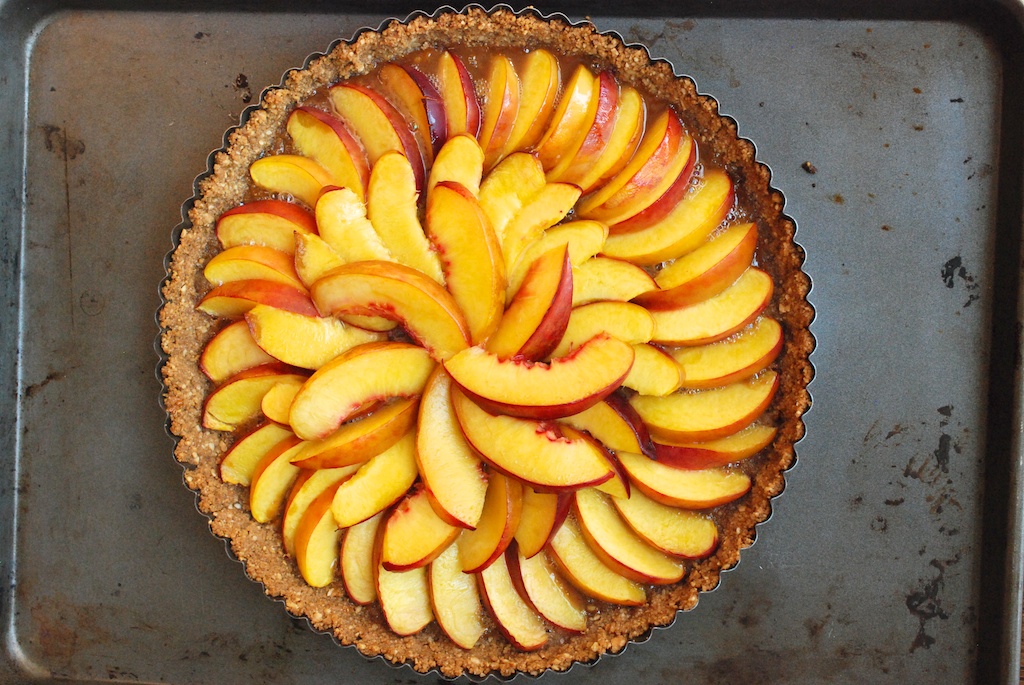
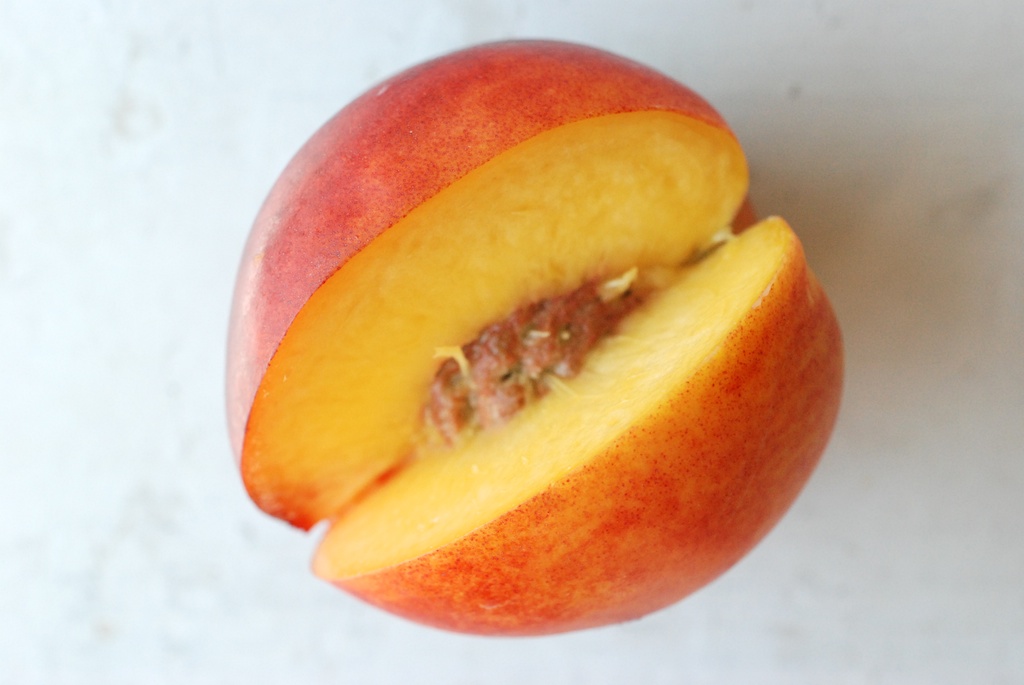
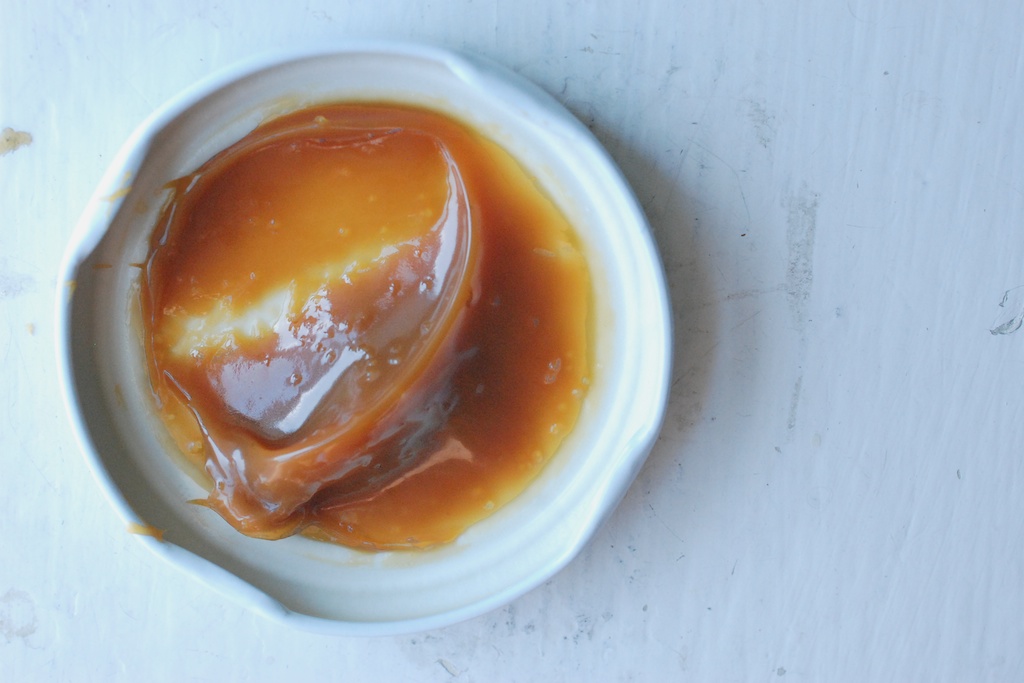
1. When the tart is cool, spread a layer of salted caramel or dulce de leche into the middle of the tart. Sliver 5 nectarines as thinly as you can, and arrange them in a pretty circular pattern. Finish by brushing the whole top of the tart with a glaze; I mix 1 tablespoon of water with 1 tablespoon of maple syrup. It gives the tart a shiny, bakery shop look, and lends the nectarines a little extra sweetness.
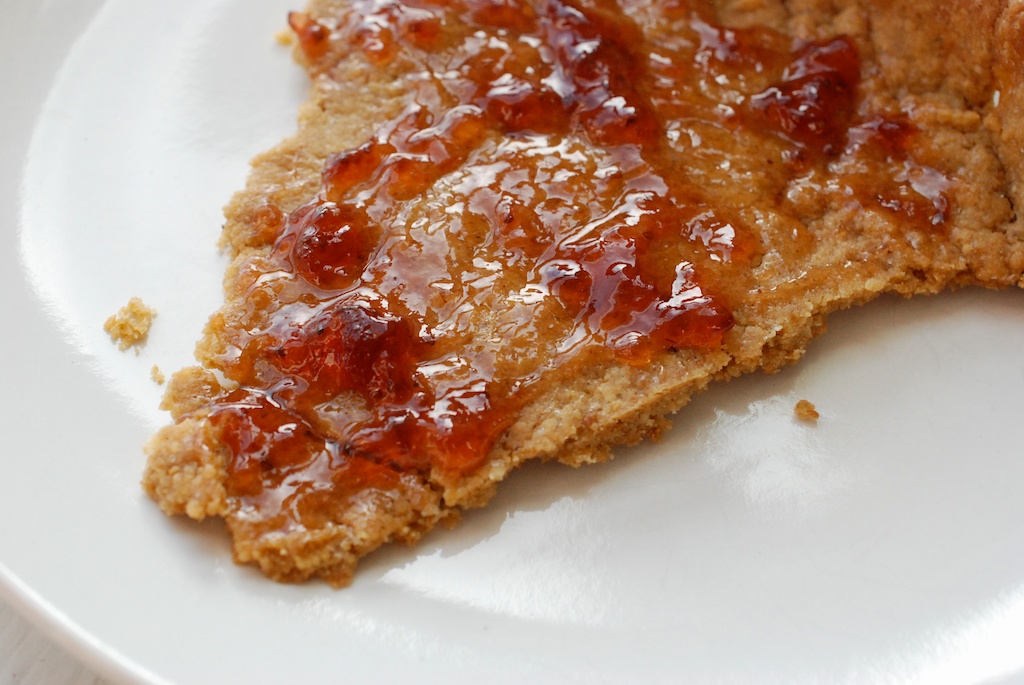
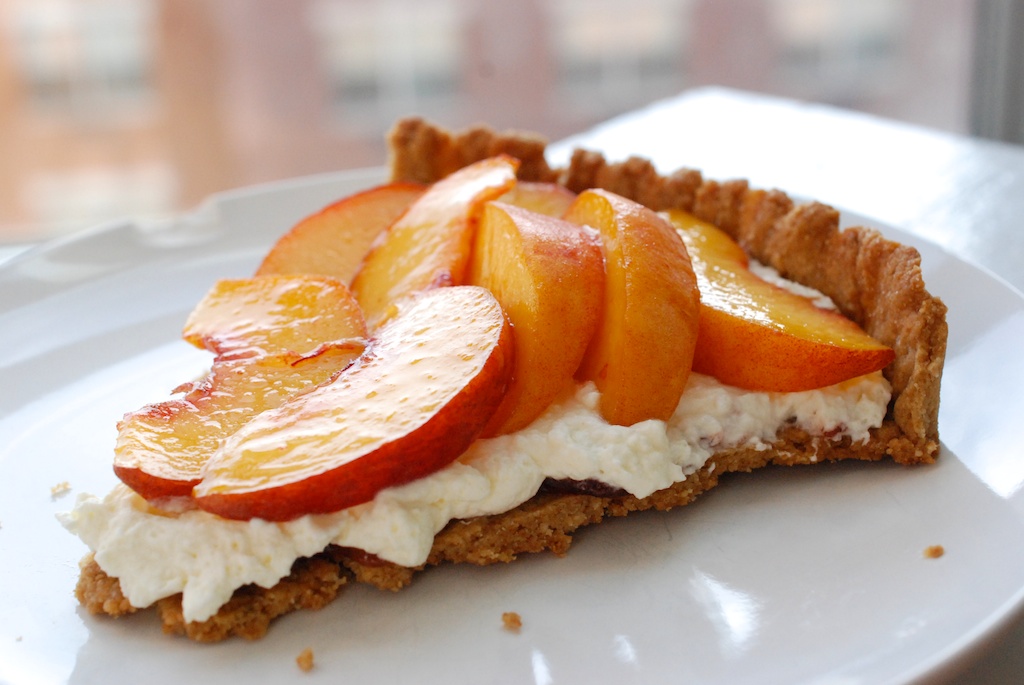
2. When the tart is cool, spread a layer of your favorite jam (I like strawberry or apricot) into the middle of the tart. Next, whip up 1 cup of whipped cream, and spread that over the jam. Sliver 5 nectarines or peaches as thinly as you can. Add them to a large bowl, and sprinkle them with 1/4 cup white sugar. Gently toss, and let them sit for about 10 minutes, or until they get juicy. Pour the nectarines or peaches over the cream. No need to be fancy.



This is absolutely stunning! I found your site through FoodGawker and am so happy I did!
Thanks, Kelly! I’m so glad you like it.
Such a lovely recipe and an even lovelier picture