When the weather turns, and I am required to pull on a sweater and scarf before biking to the market, then I know it is time for chicken again. I will roast one for Sunday lunch. The Frenchman and I, we both like dark meat, so the legs go first. After we’ve eaten our fill, I remove the breasts from the bone, along with any remaining scrappy bits, and wrap them up. During the week, the white meat is turned into sandwiches, soup, tacos, or this salad. The bones go into a plastic bag in the freezer, until I have enough for stock.
I want to share this with you, in as much detail as possible, because it is the best way I know how to roast a chicken. It’s a great “recipe” to keep in your back pocket–absolutely delicious, and endlessly adaptable. You don’t need any fancy equipment to make it, so it can be reproduced in nearly any kitchen. Dress it up for guests. If you live alone, roast a chicken at the top of the week anyway–you will have a week’s worth of dinners in front of you.
This method of spatchcock-braising (get your mind out of the gutter–“spatchcocking” means that you are removing the backbone and flattening out the chicken) comes from the brilliant Amanda Hesser. Her recipe has effectively ruined all other forms of chicken roasting for me. How can I deviate, when this technique yields such crisp skin and moist meat, but in less time?
To highlight the flexibility of this process, I won’t format this post the way I normally do my recipes. Think of it more like a conversation–I hope the writing below will lead you to chicken success. Any additional questions can be left in the comments, and I will do my best to answer them fully. How will you make this method your own?
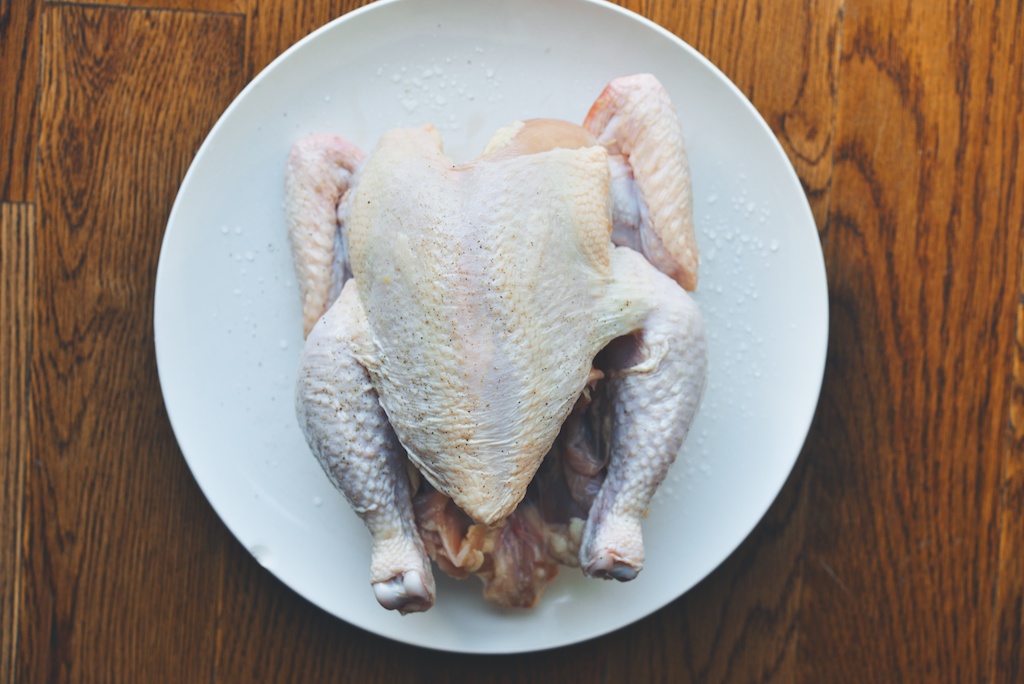
First thing’s first: buy a chicken. I really encourage you to buy your chicken from a reputable source; I purchase mine at the farmers market. Typically, I buy a 2 or 3-pounder, because it is just the Frenchman and I, but you can use any sized chicken you’d like. When you get home, remove the chicken from its packaging, rinse it all over, and then pat it dry. Do you have a little time? I like to salt and pepper the chicken, rest it on a plate, tent it with plastic wrap, and move the whole thing into the refrigerator overnight, or at least for a few hours. This accomplishes two things: first, it dries out the chicken skin, which means more crisp results. Second, it allows time for the salt to sink into the chicken, flavoring and tenderizing it. If you do not have time to let the chicken rest in the fridge, it’s not the end of the world. Just make sure you pat it very dry after you’ve rinse it.
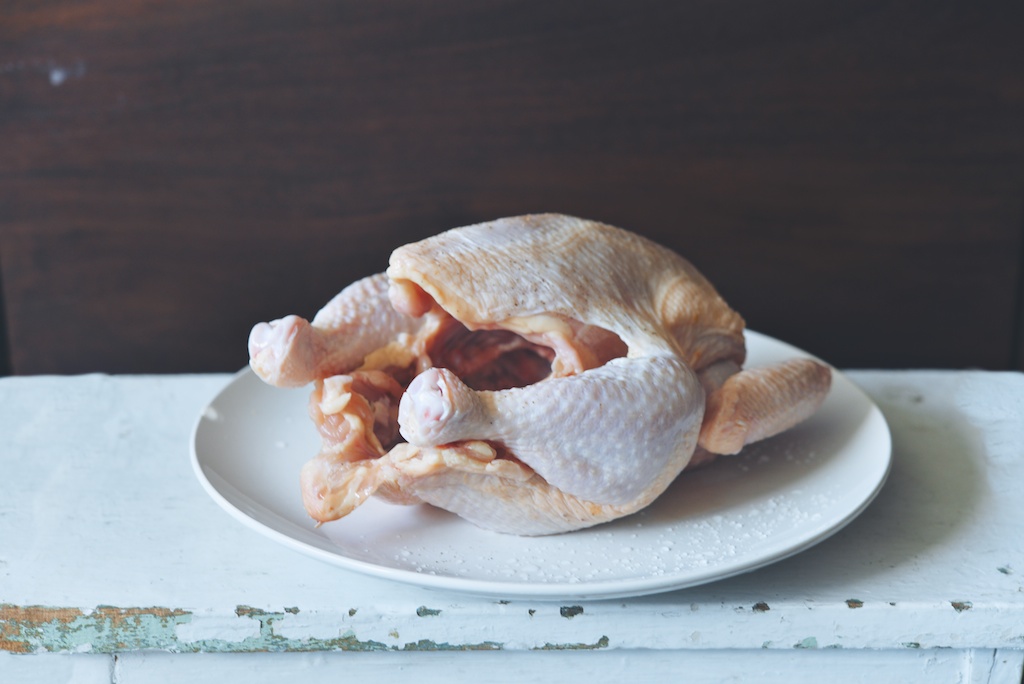
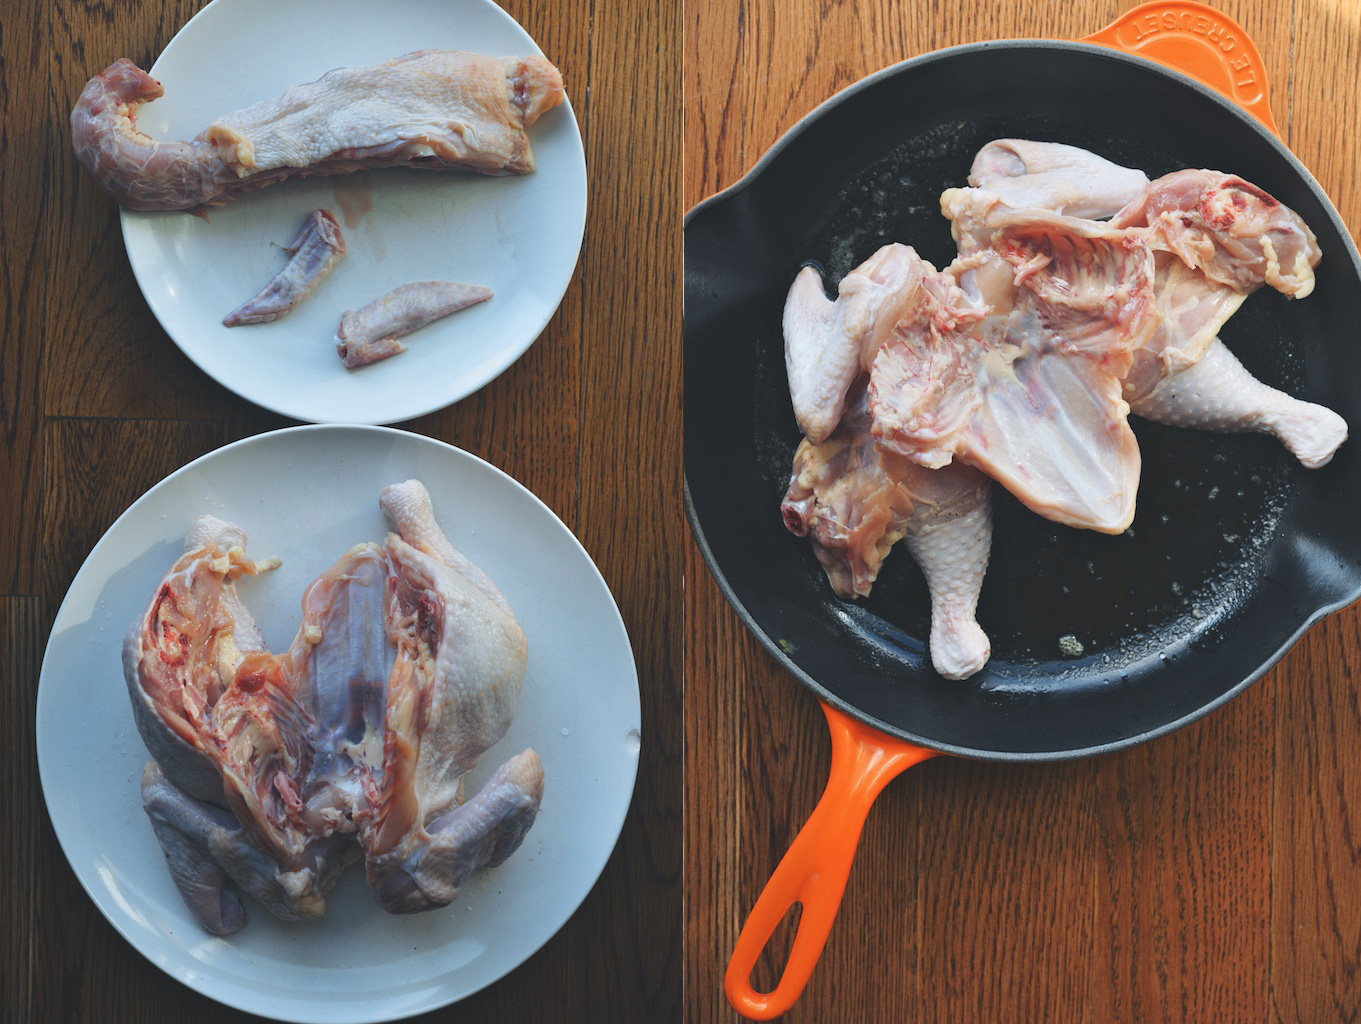
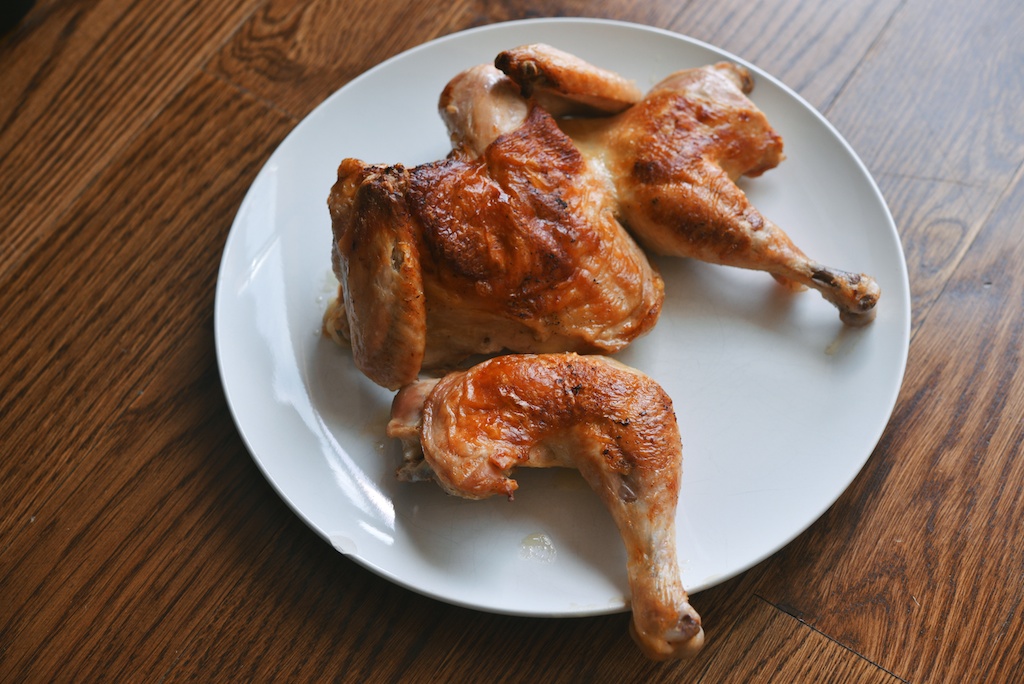
Spatchcocking: So your chicken has chilled in the refrigerator, or it hasn’t, but either way it is very dry and liberally salt and peppered. Now it is time to spatchcock the chicken. You will need a pair of culinary or poultry shears–basically, you will need a big pair of clean scissors that can cut through chicken bone. Rest the chicken on a plate or cutting board, breast side down, and cut out the backbone. (Here is a great video, for those of you who have not done this before. I don’t bother cutting out the breastbone personally, but I do cut off the wing tips. I also recommend saving the backbone and wingtips for stock.) I complete this step first, as I like to take the chicken out of the refrigerator about 45 minutes before it sees any heat.

Heat the oven to 425F.
Dealing with vegetables: You can pretty much use whatever root vegetables or hearty herbs that strike your fancy: carrots, potatoes, garlic, radishes, onions, shallots, sweet potatoes, parsnip, squash, celery root, fennel, apples, rosemary, sage, thyme. Let your imagination run wild. This past Sunday, I diced 1 medium onion, 1 large potato, and sliced up 1 lemon (remove the seeds, which can be bitter). Regardless of what you use, dice everything up fairly small, toss it into a mixing bowl, and set it aside. A good rule of thumb is to chop enough vegetables so that they will rise about 1-inch off the bottom of the pan.
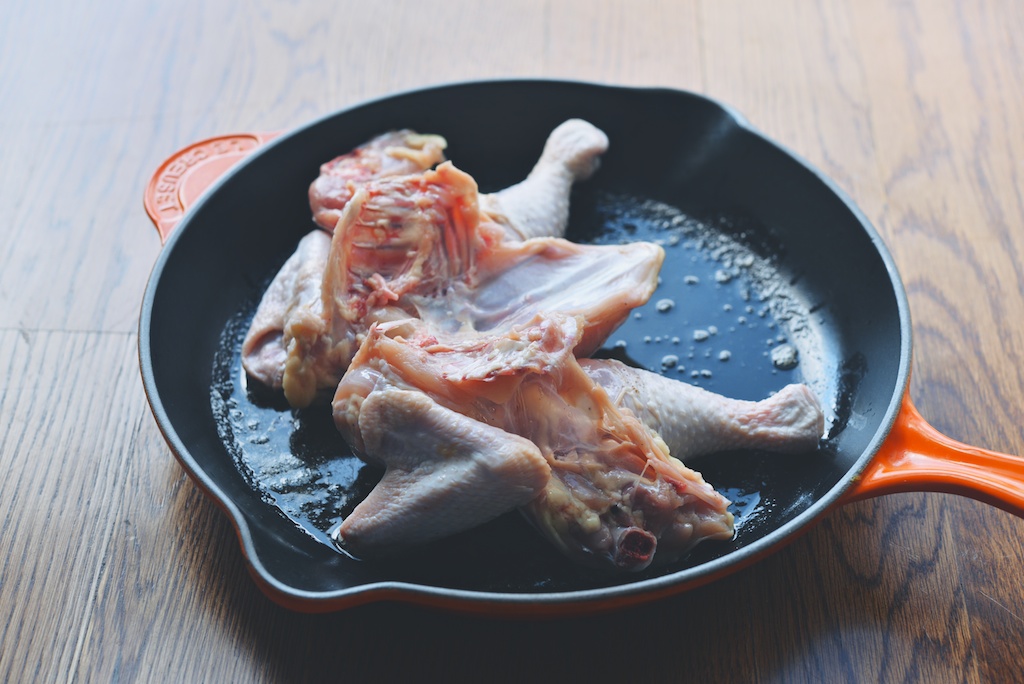
Start cooking the chicken: You will need a pan that fits your flattened chicken comfortably. (Worst cast scenario, you can cut the chicken in half, sear it in batches, and finish it in a roasting pan or casserole dish.) Choose your cooking oil–any neutral oil will work, but I am partial to the combination of unsalted butter and olive oil; 1.5 tablespoons of each gets the job done. Add your cooking fat to the pan, and warm it over medium heat. When the oil is glistening/the butter is bubbling, add the spatchcocked chicken to the pan, skin side down. Allow the chicken to cook for about 5 minutes, or until the skin is golden brown. Remove the chicken to a plate, skin side up.
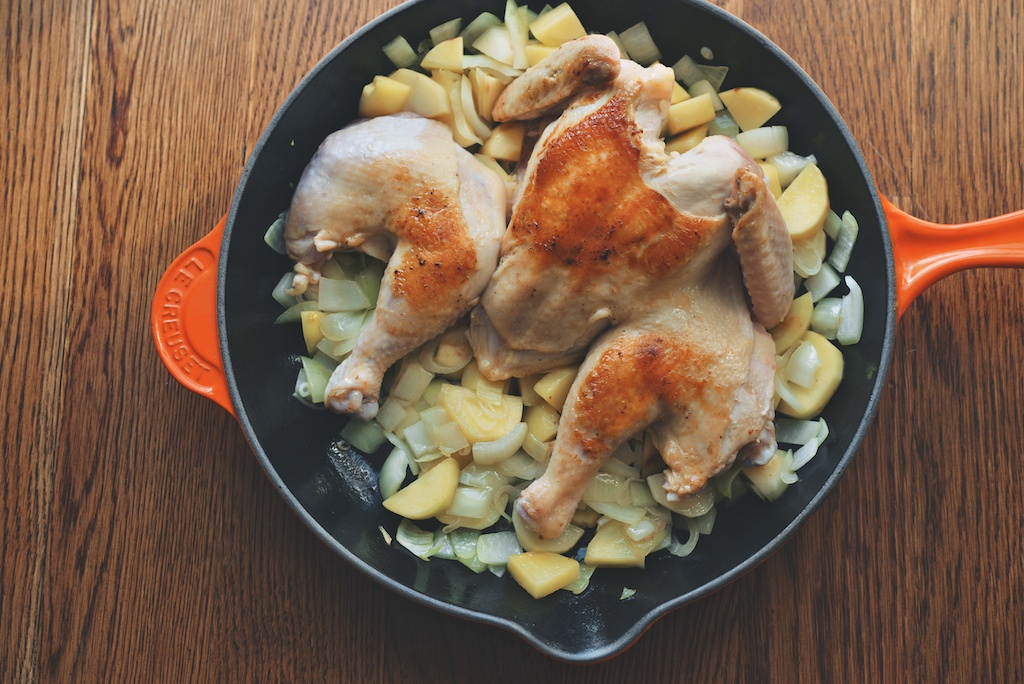
Remember those vegetables you chopped? Now add them to the pan. Stir to coat them in the remaining fat. I like to let the vegetables cook for about 5 minutes, just to get them started, and to give them a little color. (Not the lemon. If you are using lemon, add the slices just before you move the chicken into the oven.) When the vegetables look good to you, it is time to add liquid to the pan. You may use: chicken or vegetable stock, wine, beer, Cognac, sherry, Port, cider–again, use your imagination. (If you are using booze, I would employ it in combination with stock, otherwise the braising liquid will be quite strongly flavored. If you don’t have stock about, use water to thin out the alcohol.) Personally, I like to deglaze the pan with a generous glug of white wine. I let that reduce by about half, and then I add chicken stock, enough so that the liquid rises about 1.5 inches off the bottom of the pan. Turn up the heat on the range, and allow the liquid to come to a gentle bubble. Now move the chicken back to the pan, on top of the vegetables, again skin side up. Move the pan into the oven.
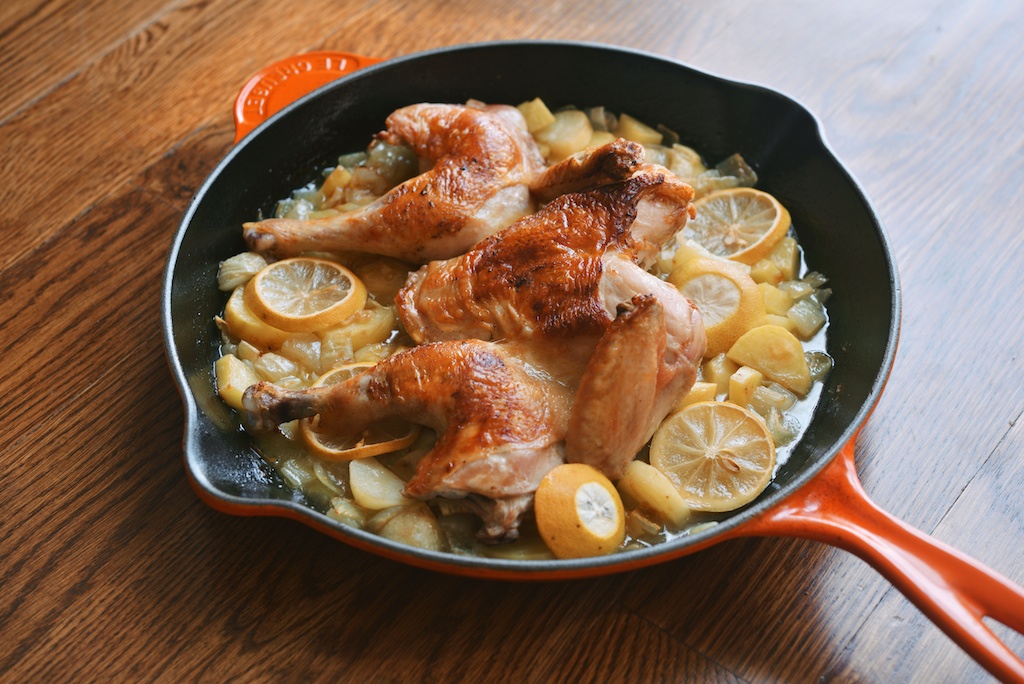
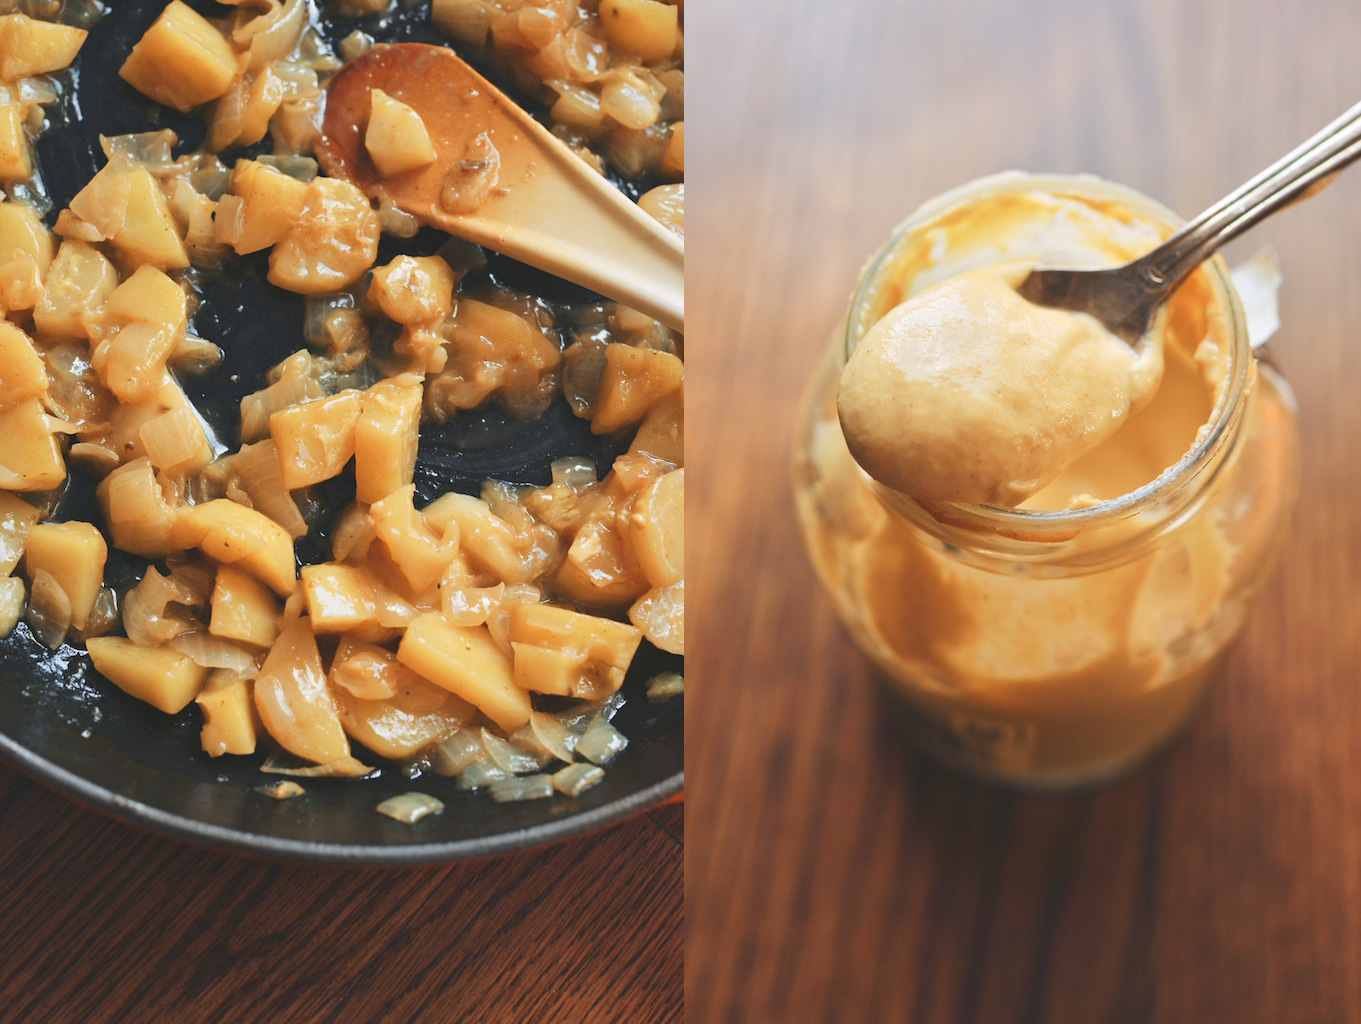
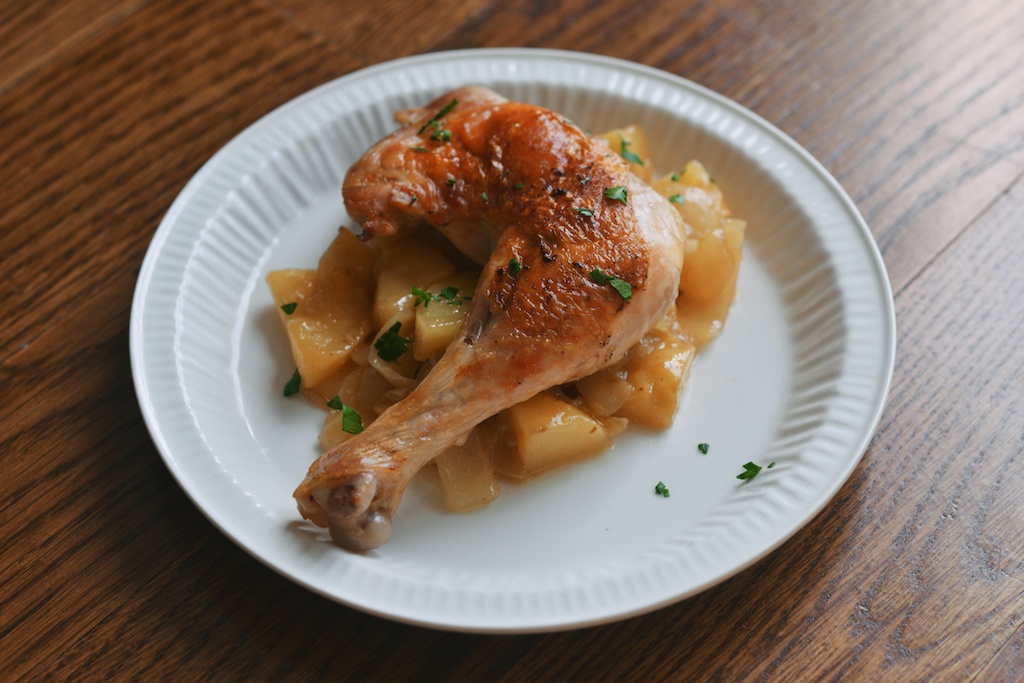
Cook the chicken until the bird reaches an internal temperature of 165F, or until the juices run clear; this will take anywhere from 30-60 minutes, depending on the size of your chicken. The chicken skin should be deeply browned, and the vegetables should be cooked through. Remove the pan from the oven, and back onto the range. The chicken goes onto a plate or cutting board to rest for 10 minutes. (Do not tent it with foil though! You want to keep the chicken skin nice and crisp.) Discard the lemon slices. Meanwhile, if there is too much liquid still in the pan, you can boil it off. Check the vegetables for seasoning: add more salt if needed. Turn off the heat. I like to stir in about 1 tablespoon of Dijon mustard at this point, especially when I’m using potatoes, but you can alternatively add a dash of hot sauce or sriracha, a pinch of paprika or za’atar, or whatever else you can think of. What will best complement the vegetables/braising liquid you’ve chosen?
Now it is time to serve the bird. If you are hosting guests, move the chicken back on top of the vegetables, and bring it to the table in the pan–this makes for a pretty presentation piece. (You can also carve the bird in the kitchen and reassemble it on a serving dish, along with the vegetables.) Scatter the whole thing with chopped parsley, for color variety. If you are amongst friends, simply tear apart the chicken with your hands, cave man-style. There is something deeply satisfying about eating chicken with your hands. In this case, serve with plenty of paper towels and a good crusty baguette, to soak up every last drop of juice.

If i served this to my Englishman, I reckon he’d ask for it every night. I am totally amazed and impressed by the method… and it looks absolutely delicious.
Thanks and bon apetit!
I finally got some time off last weekend, from work, chores and all motherly duties. I spent it reading your blog… Like a book. Like I would read a cookbook with lots of fun recipes and lots of thing to learn. Thank you!
You’ve made my day, Aleksandra!