Here is the thing about trying to recreate childhood dishes for the Frenchman: it is invariably a petit désastre. I have tried my hand at lentils, white beans, croque-monsieur. It’s not that my attempts are bad per se (well, except for the beans. I am bean-impaired), but they simply don’t live up to expectation; they aren’t the same. What can I say? Childhood memory is a cruel competitor, particularly in the kitchen.
The following “braise” was one such attempt. The Frenchman lived in Tunisia for six years as a kid, so the man knows his way around a couscous. He loves couscous. I, on the other hand, am quite new to the dish.
I did some research, but mostly I relied on techniques I was already familiar with (to me, winter is spelled b-r-a-i-s-e), and employed ingredients I thought made sense together. I even bought couscous imported from Tunisia, which I hoped might add some authenticity to the proceedings.
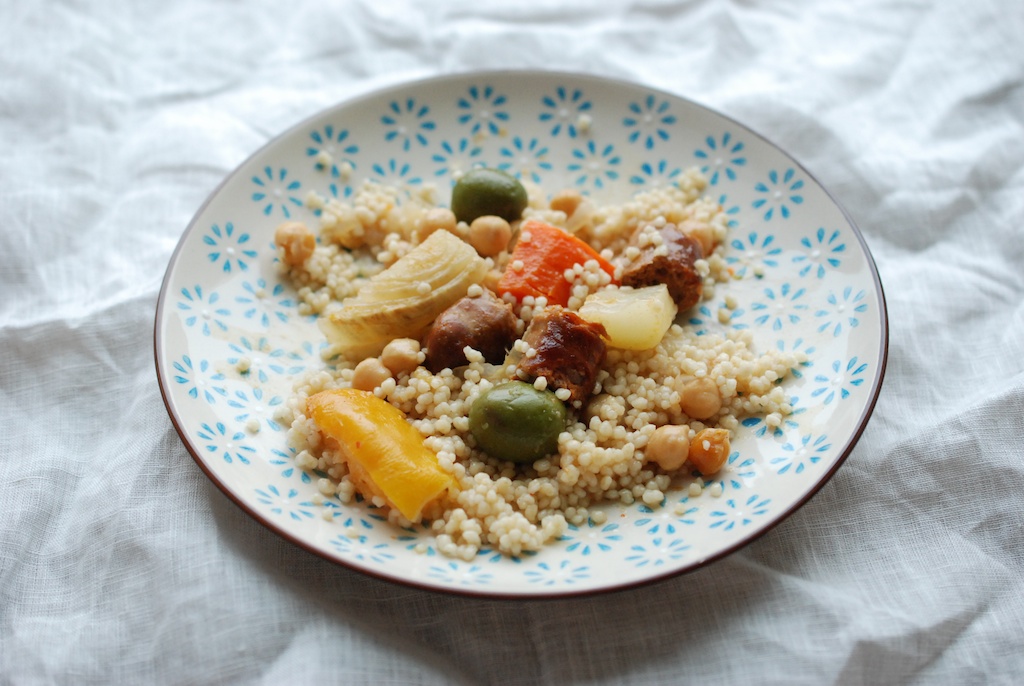
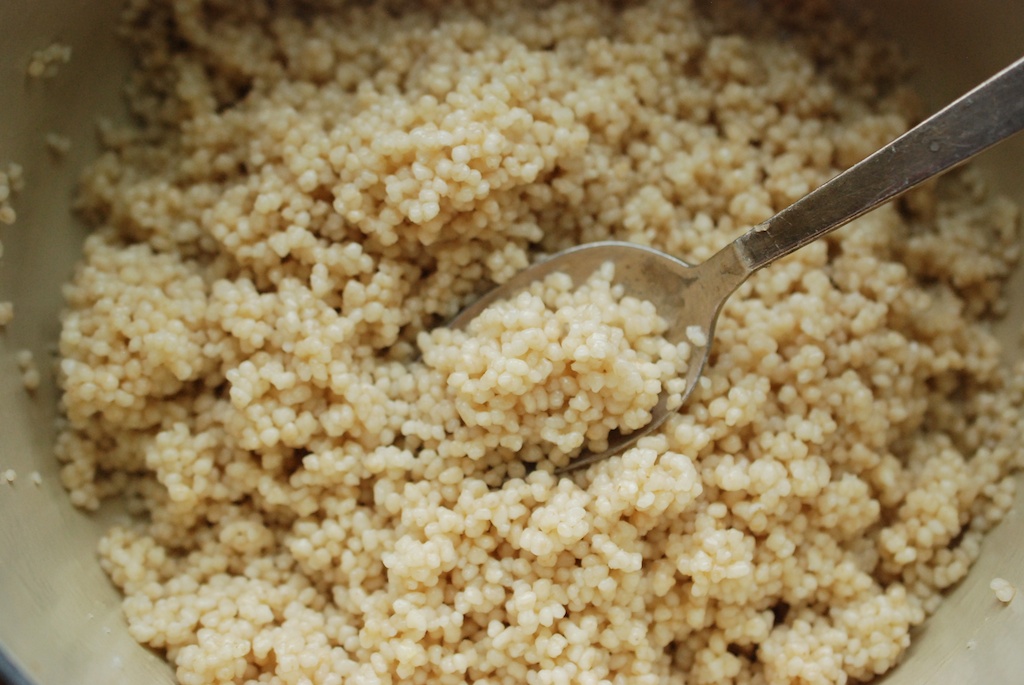
When the dish came out of the oven, I though it tasted really good: the vegetables were soft, and flavored with pan juices. The sauce itself was complex and spiced, a little spicy, but not overwhelmingly so. The couscous was downy, and tasted ever so slightly of the good olive oil I stirred into it.
The trouble came when the Frenchman tasted it: the couscous grains were too big; the “hot pepper paste” I’d used was not the same as harissa. Ah well. He agreed that dinner was flavorful, even if it wasn’t actually.. you know.. “couscous”.
I am sharing the recipe with you because, while it may not be “real” or “traditional”, it is still incredibly delicious. It is still ideal for an icy January day. It feeds a family, or a group of friends, and is adaptable as well as forgiving. It makes great leftovers, and might prompt you to make a batch of preserved Meyer lemons, which will linger happily in your fridge, and spark a hundred future recipes. It is also relatively easy in the clean up department: a knife and cutting board, a casserole dish, and 2 pans that will need little more than a rinse.
A note on the Meyer lemons: Since Meyer lemons are thinner-skinned than regular lemons, they take less time to preserve, meaning I can use them faster. Also, Meyer lemons have a sweet-sour flavor profile I find delightful. They are available at my local supermarket in the winter months, but if you can’t find them easily, the dish would also work with regular lemons. Heck, if you want to skip the preserving all together, sub the preserved Meyer lemon wedges for the pulp and zest of 1 very small regular lemon. (Just avoid the pith, which can make the sauce bitter.)
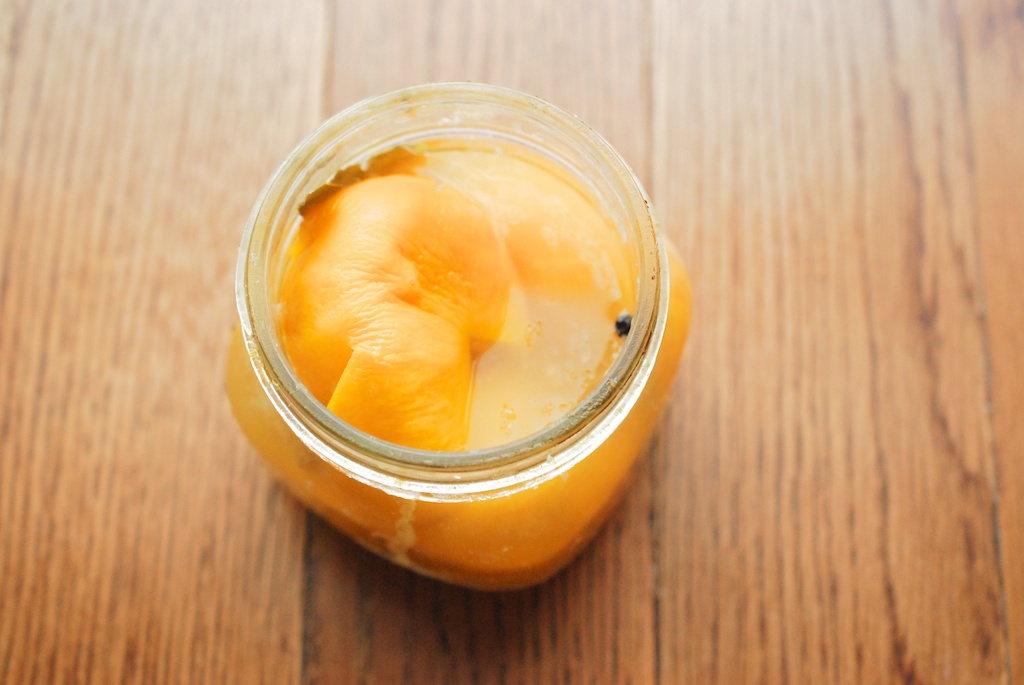
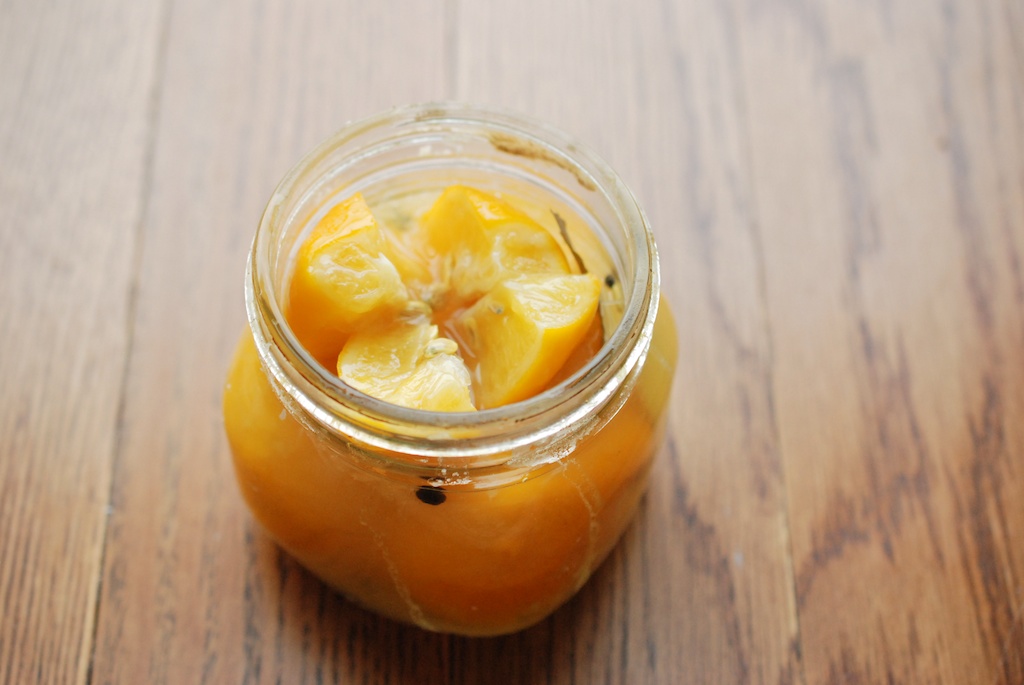
Preserving the Meyer Lemons: I really went the simplest route possible, using a jar that held just five whole lemons, and minimal aromatics. I started by running the jar through the dishwasher, to get it sparkling clean, and then poured 1 tablespoon of Kosher salt into the bottom of the jar. Meanwhile, I trimmed the ends off of 5 Meyer lemons that I’d scrubbed clean.
I set each lemon on one (now flat) end, and almost quartered each lemons, stopping about 3/4 of the way to the base. (If this is hard to visualize, check out some step-by-step photos here.) Using 1/4 cup more of Kosher salt (perhaps a bit more), the idea is to coat each now-opened-like-a-flower lemon with a sheen of salt; use your fingers to rub salt over every exposed inch of lemon-insides. If there is leftover salt, deposit it into the jar, before wedging each of the five lemons in after it. It should be a bit difficult, they should be packed like sardines.
Pushing the lemons into the jar will release some of their juices; still, I added the juice of 1 extra Meyer lemon to the jar, because you don’t want any air in there. To finish, I slid in a bay leaf and 5-6 peppercorns.
Now close the jar, and shake it around like a polaroid picture. Set the jar on a cool countertop, out of reach of the sun. Check on it the next day–if the juice doesn’t rise to the top, you can add the juice of yet another Meyer lemon (I didn’t have to, but it’s worth mentioning). Now leave the jar alone. Every day or two, flip the jar over, give it a shake. In 2-3 weeks, your lemons will be ready to rock and roll. Once you open the jar to start using the lemons, move it in the fridge, where the lemons will remain happily for quite some time.
Preserved Meyer lemons have plenty of applications: roast chicken and fish, a whole world of Middle Eastern and North African cooking. They add a big punch of flavor. Just remember to remove the seeds before cooking with them.
Serves 4
Ingredients:
- 4 cups chicken stock (homemade if possible)
- 2 garlic cloves
- a nub of fresh ginger
- 1 tablespoon harissa
- 1 teaspoon cumin
- 1/2 teaspoon cinnamon
- 1 bay leaf
- 1 fennel bulb
- 1 white onion
- 1 medium carrot
- 4-6 merguez sausages
- 1/2 cup gem-green olives
- 1 14-ounce can chickpeas
- 1 whole preserved Meyer lemon, quartered
- 1 1/2 cups couscous
- sea salt
- olive oil
Procedure:
1. Heat the oven to 350F. On the stovetop, heat the chicken stock. Let it come to a simmer as you prepare the rest of the ingredients.
2. Everything goes into the same casserole dish: run the garlic cloves and the ginger through a microplane grater, so they both come out as paste. (For the ginger, you want about 1 tablespoon of ‘ginger paste’.) Add the harissa, the cumin, the cinnamon, and the bay leaf.
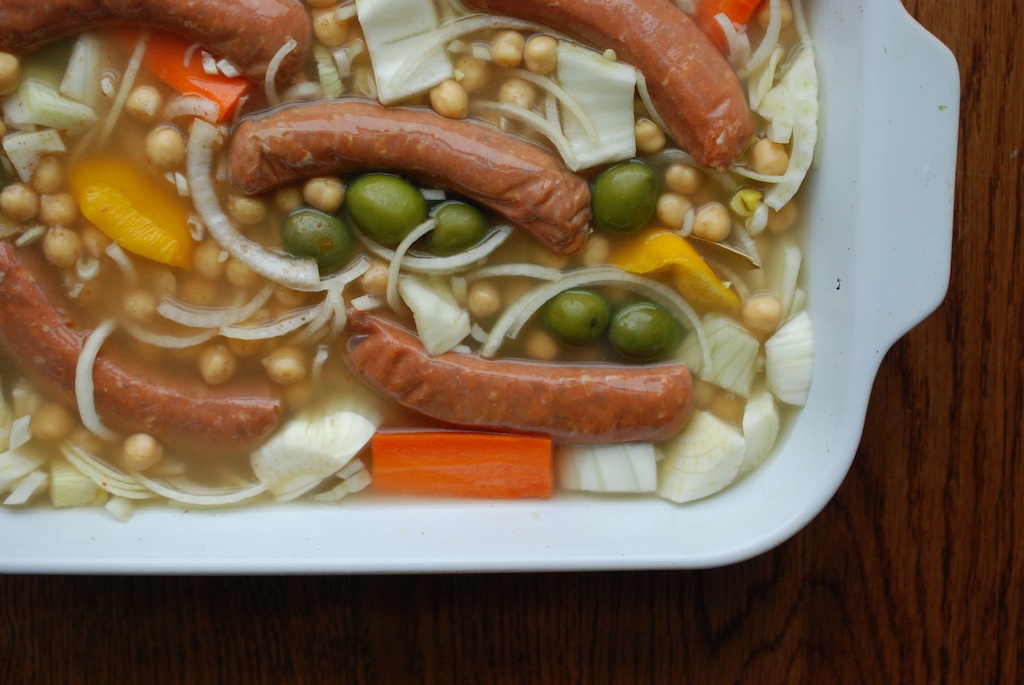
3. After removing the stalks and the outer layer, roughly chop the fennel, and add the pieces to the casserole. (If you like, save the fennel fronds for garnish.) Cut the onion lengthwise, and thinly slice both halves. Peel and halve the carrot, and then cut each half into three somewhat even pieces. (You want each carrot piece to cook at more or less at the same rate.) Move all the vegetables to the casserole dish, along with the merguez sausages (you can poke each sausage all over with a knife tip, so the skin doesn’t pop in the oven), the green olives, and the chickpeas (rinse the can goop off first). Add the preserved Meyer lemon wedges to the casserole too, making sure to pick off the seeds, if you haven’t already.
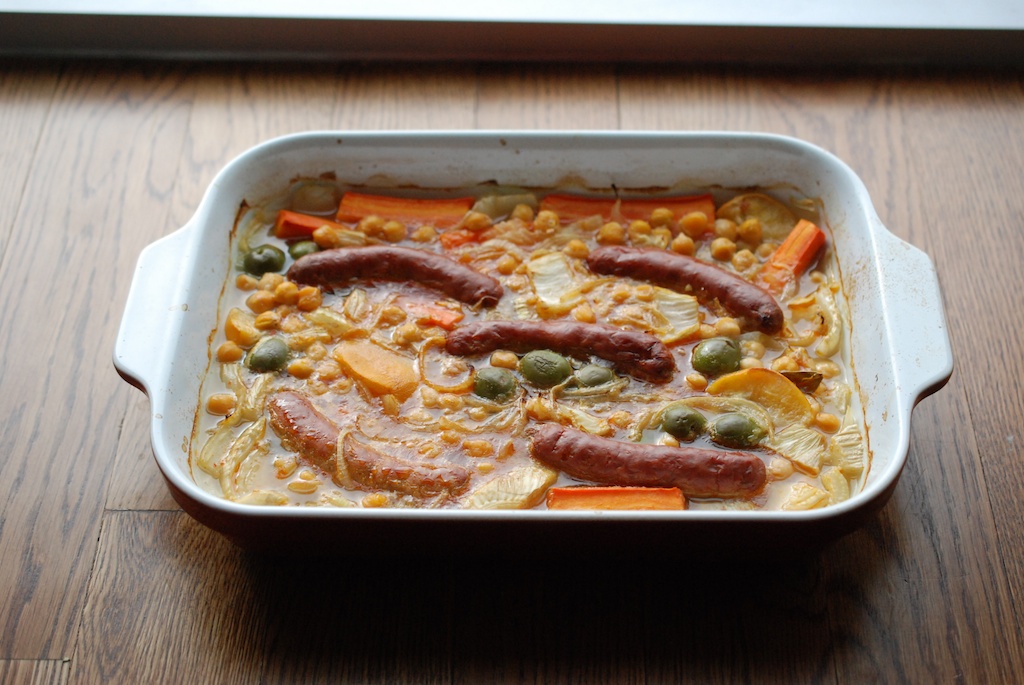
4. The chicken stock should be hot by now; pour it over the casserole dish. Use a spoon to mix the ingredients a bit, to integrate the garlic, ginger, harissa, cumin, and cinnamon into the broth. You want there to be enough broth so that the ingredients are 2/3 of the way covered. (If you find this isn’t the case, you can add extra stock, or even water, so that it is.) Now move the casserole to the oven. Let everything cook together for 1 hour.
5. While the casserole is in the oven, make the couscous. (I used Tunisian couscous, but it’s up to you. You could even use another grain, like quinoa.) I brought 2 heaping cups of water to a boil, then turned off the heat and added my couscous. Secure the lid on top of the pot, and let the grain sit for 8-10 minutes. Lift off the lid– the water should be dissolved and the couscous ready. Stir in 1-2 tablespoons of good quality olive oil (for flavor, and so the grains won’t stick), and salt to taste. You can leave the couscous on the stovetop, covered, until you’re ready to serve.
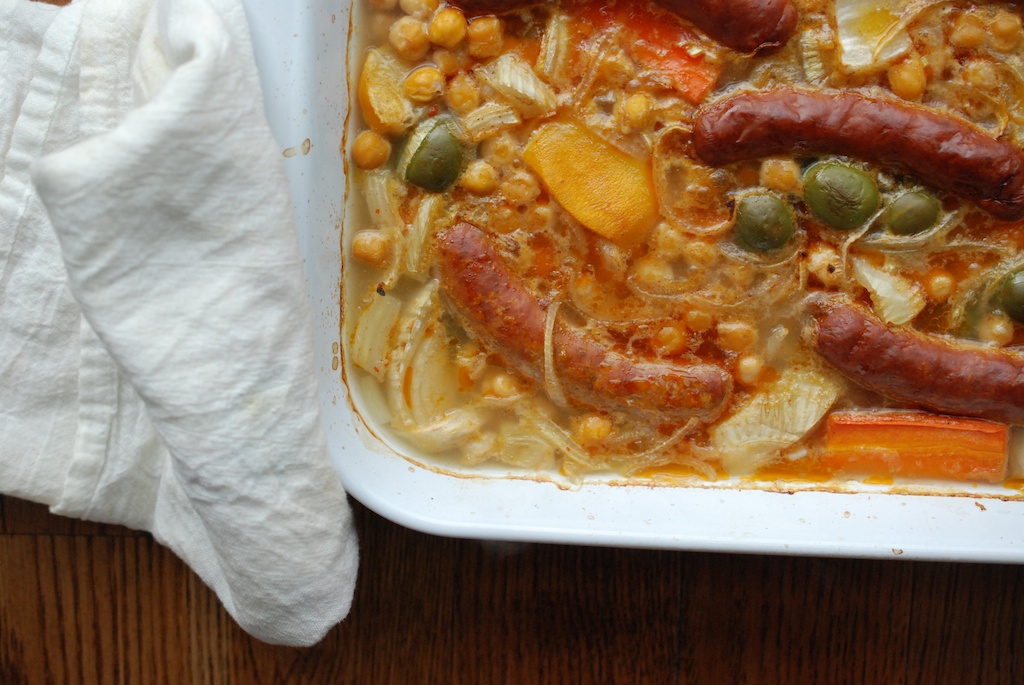
6. After 1 hour, remove the casserole from the oven. The colors should have intensified, and the non-submerged bits of sausage and vegetable will look wrinkled and roasty.
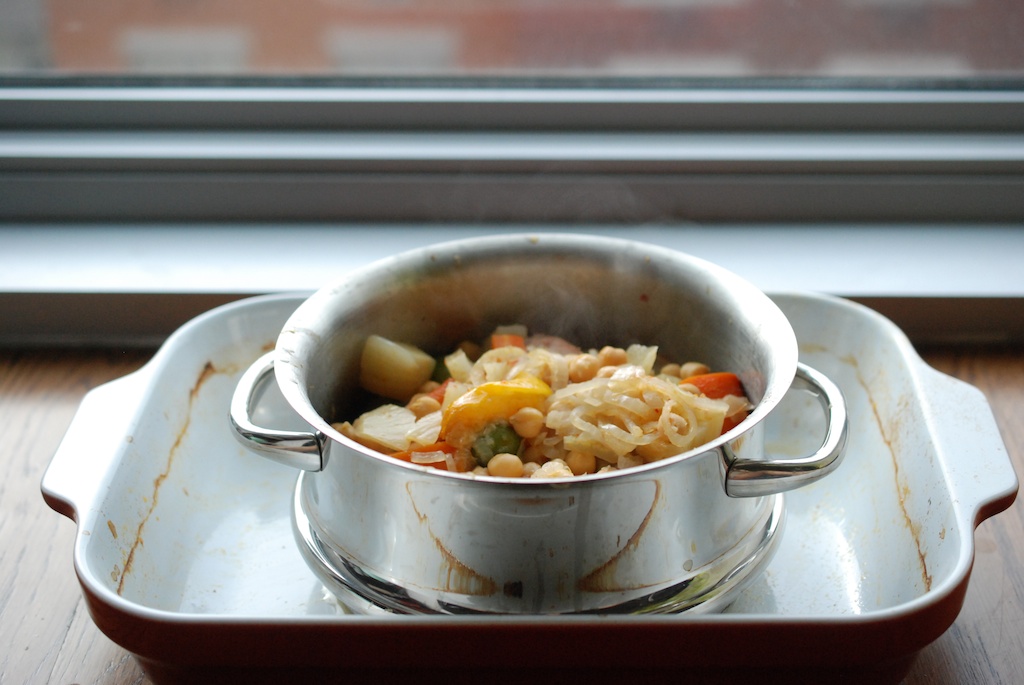
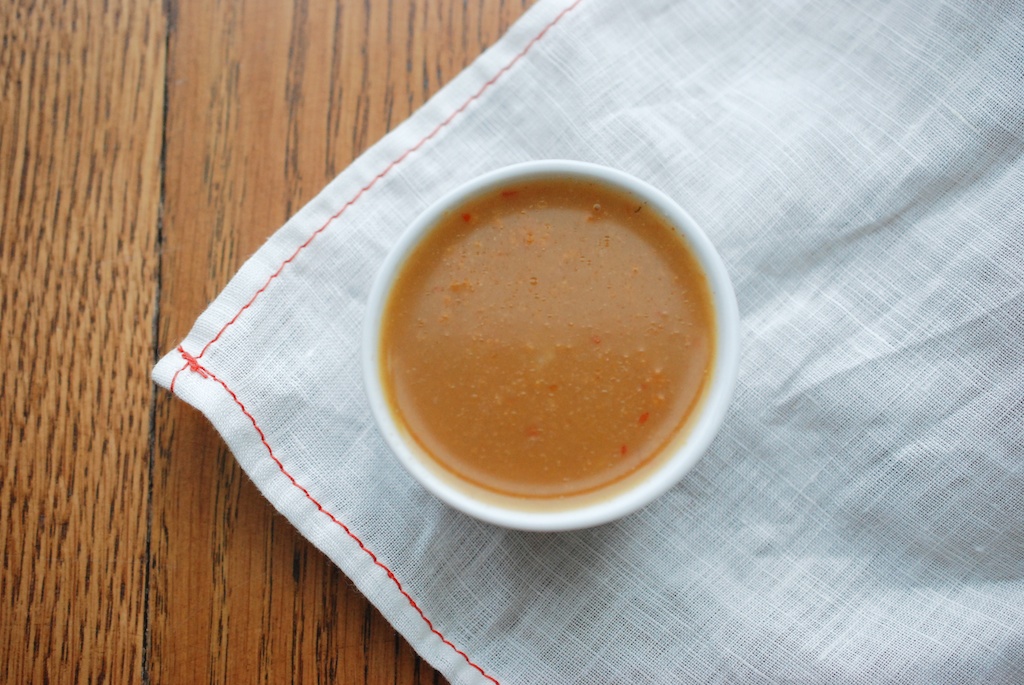
7. (Carefully) separate the solids from the juices (it’s hot!). The solids can hang out for a second, while you move the juices to a wide, flat pan. Turn the range to medium high, and cook the juices until reduced by 1/2. The sauce should be thicken a little, and be really flavorful. Adjust the seasonings as you see fit. (With the salt from the preserved lemons, I didn’t need to add any seasonings, but use your best judgment.)
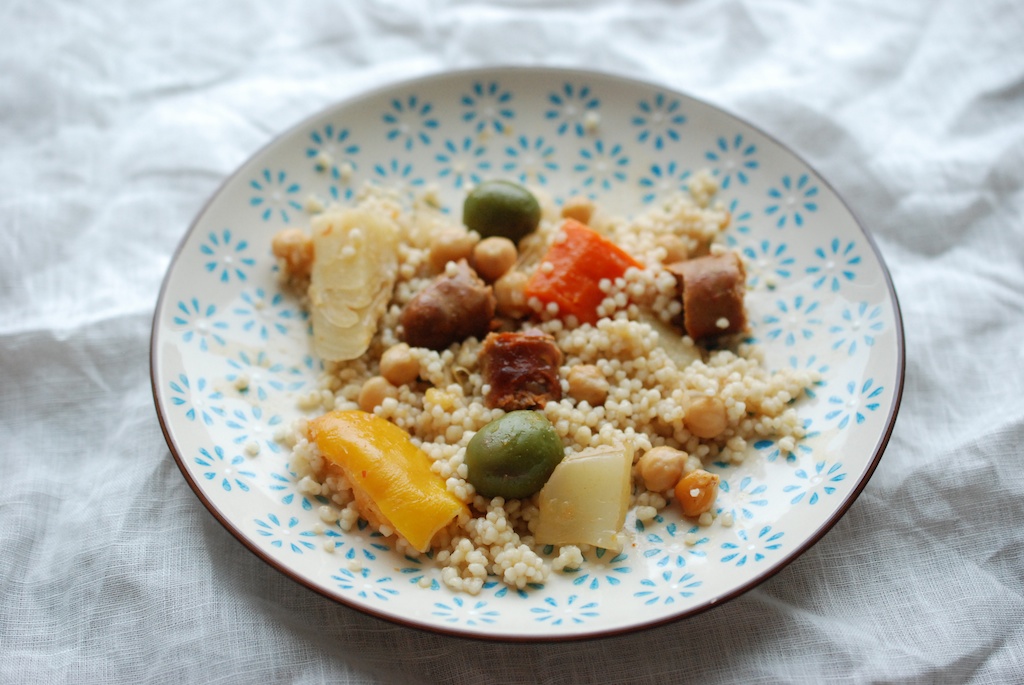
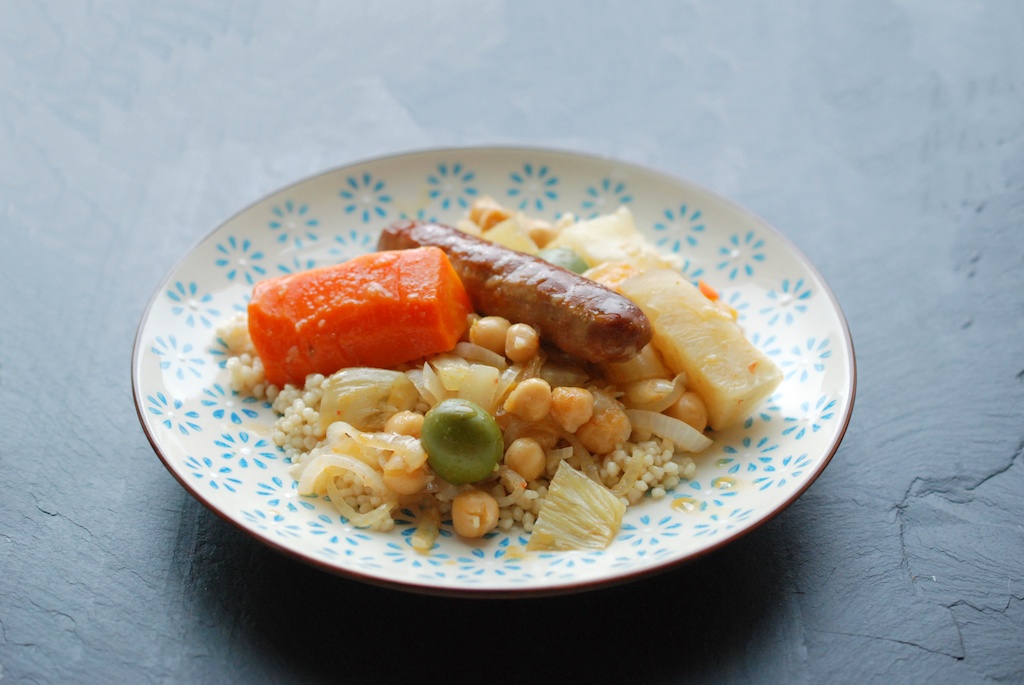
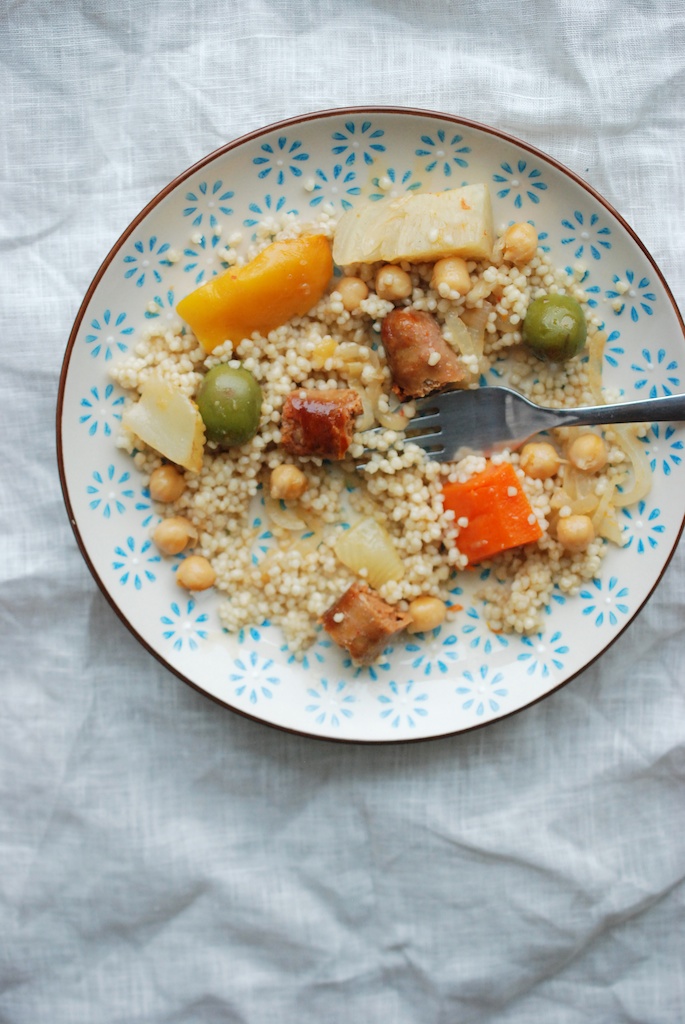
8. Now plate everything together: Divide the couscous among the plates. Pile the vegetables, and 1-2 merguez sausages per person on top. Finish with a generous pour of the sauce. Enjoy hot.
